Well I havnt gotten much done in the last few days, it's been too cold here and I can't get my shop warm enough. I took the sides out of the moulds and set the top on them just to get an idea of how it'll look once I can glue it up. I'm expecting a package from StewMac today with the finishing touches in it. Still lots to do!
Mark, but what you HAVE got done is some great stuff and a virtual how-to-build a beautiful looking steel. It never ceases to amaze me all the brainwork and planning that goes into you guys' project. This is evident before you even attempt to put the chisel to the wood.
That figured maple is simply astounding!
http://benrom.com/
21 BenRom pedal steel guitars, a Nash 112 and a 1967 TOS Milling machine with many cutters making one hell of a mess on the floor.
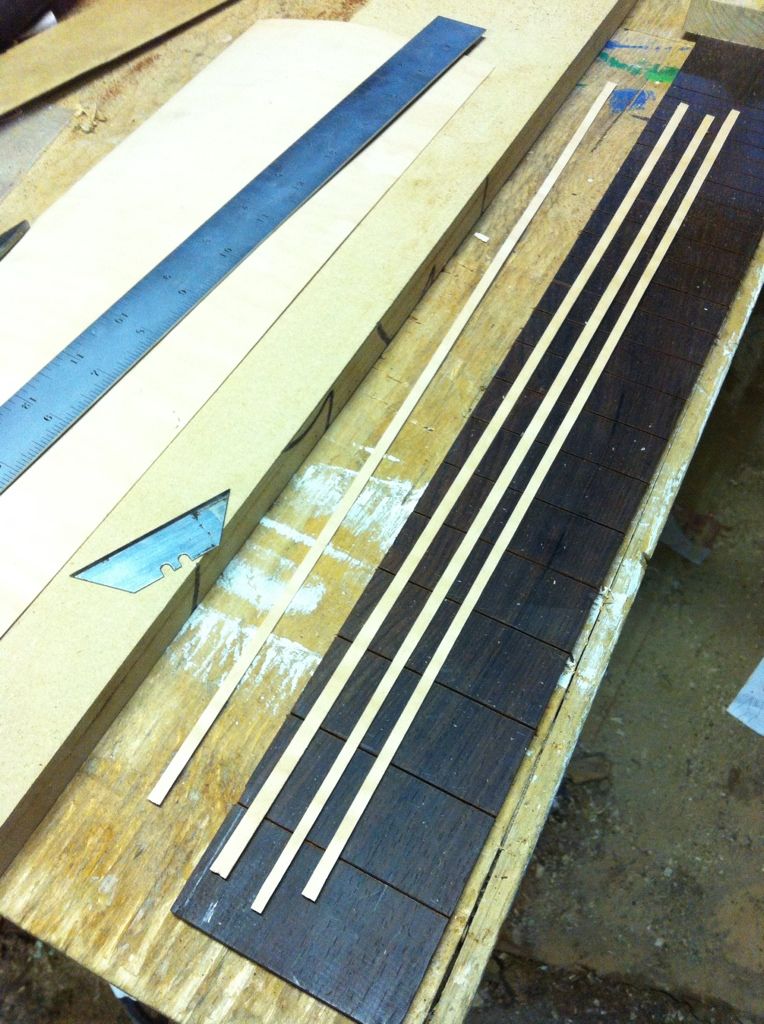
Thank you Bent, I'm pretty excited to see that wood with finish on it,. But that's still a long way away haha! I got the sides glued to the back today, and marked the frets out. I'm still not sure what I'm going to use for fret markers, I have some maple veneer I thought I'd use,. Or my other thought was some thin aluminum strips to match the aluminum nut and bridge I'm using.
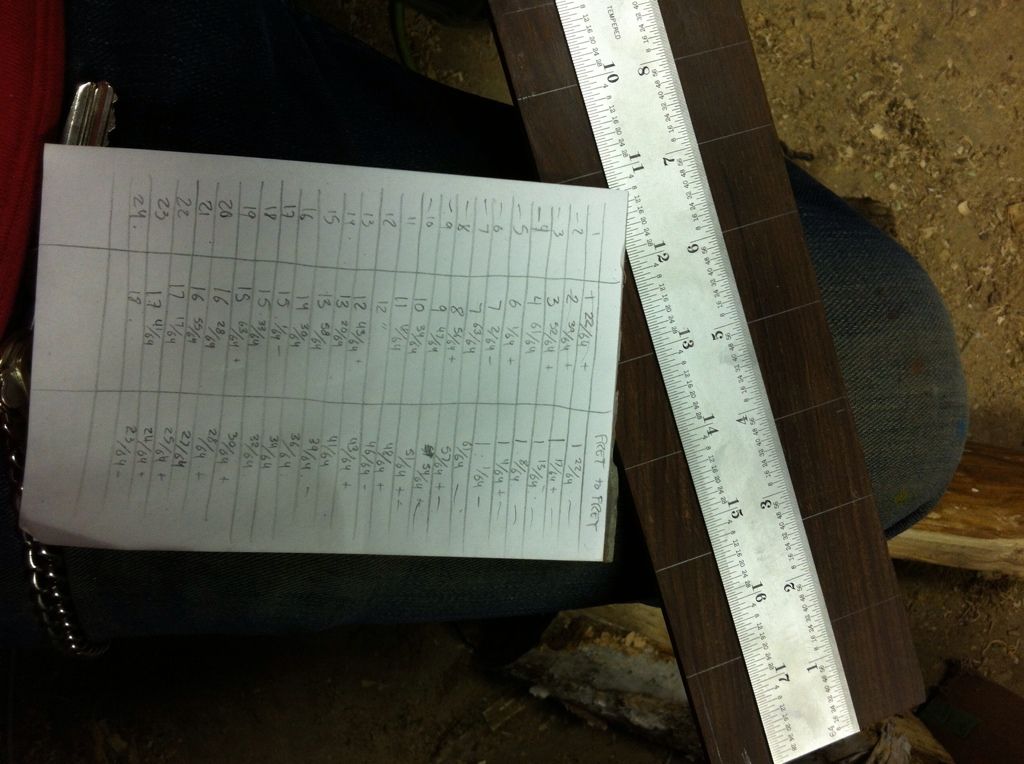
That is handy! Looking through the charts,. Why are some of the fret spacings slightly different for each string? How would you go about that,. Or is that chart just being super technical?
Probably being 'super tech', but if you think about it, on a 'normal' six string fretted guitar, the bridge is either angled, compensated ar adjustable as in the 'telecaster' which in effect would give a slightly different 'scale length' therefore making a different fret position for that string length.
That does make sence,. I was thinking why the spacing from fret to nut would be different, but now that I think about it I have seen nuts slotted for intonation. Thanks for the link
Here's the latest update, we had a few warmer days here so I was able to get a fire going and do some gluing.
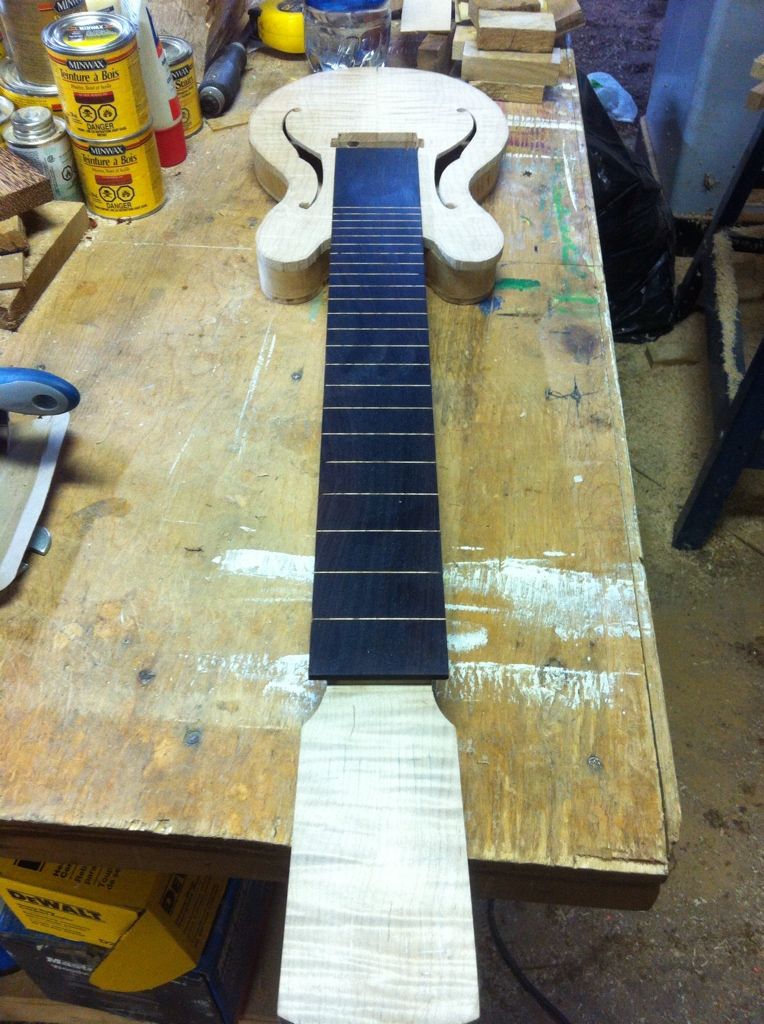
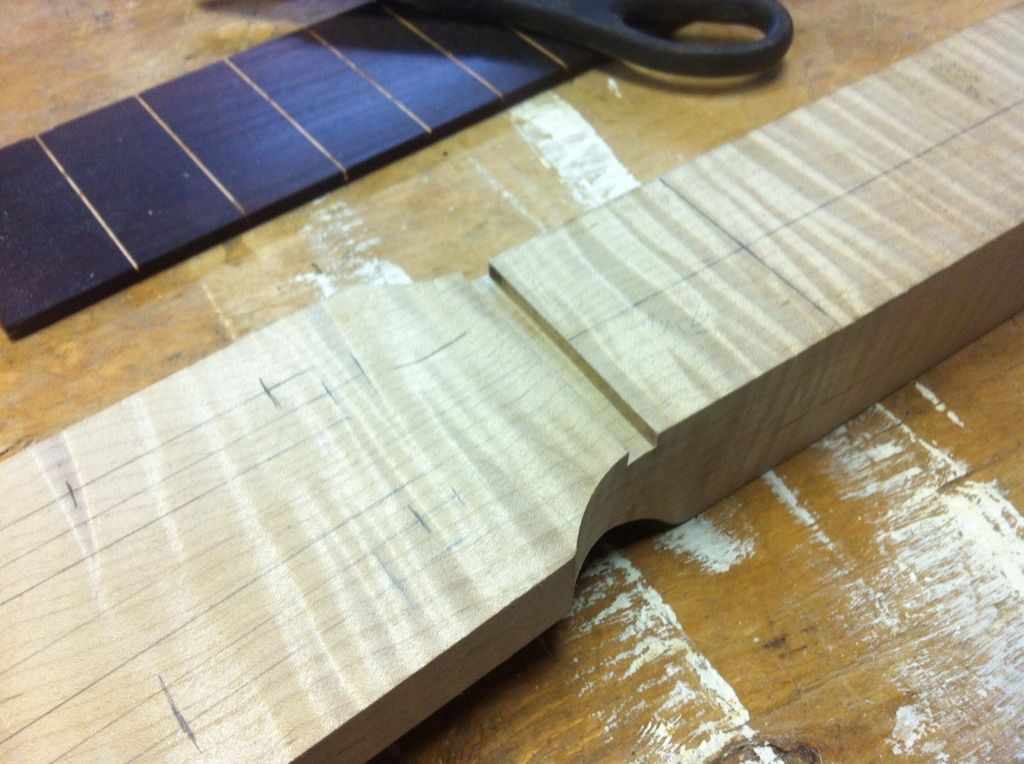
I used maple veneer for the frets
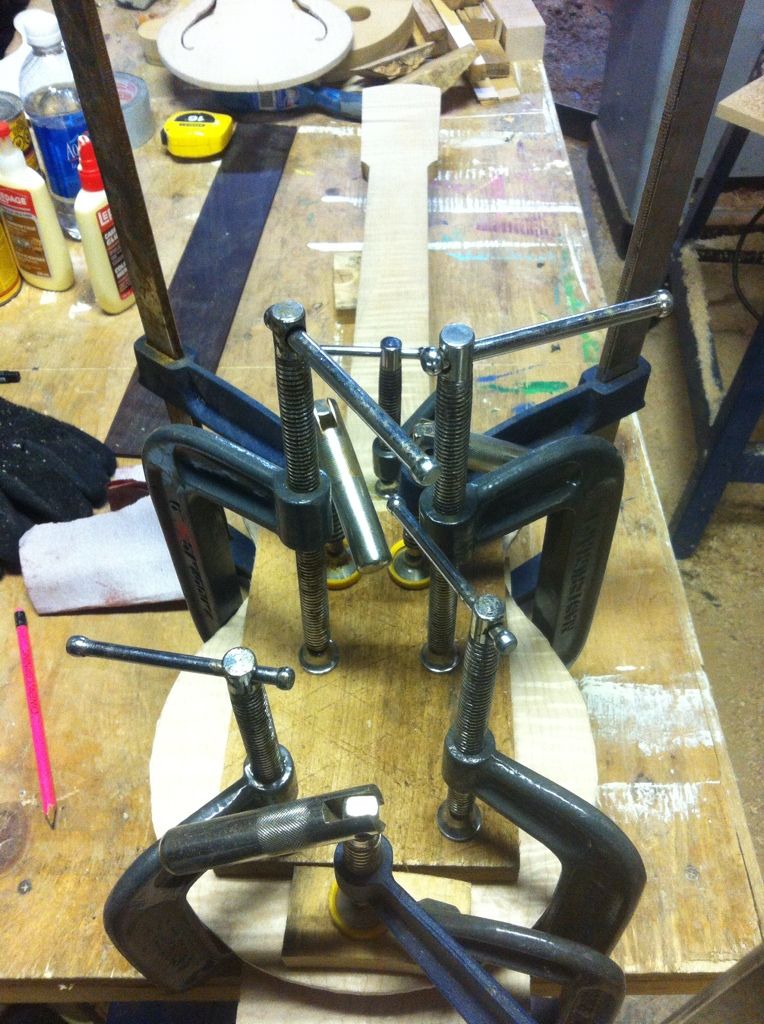
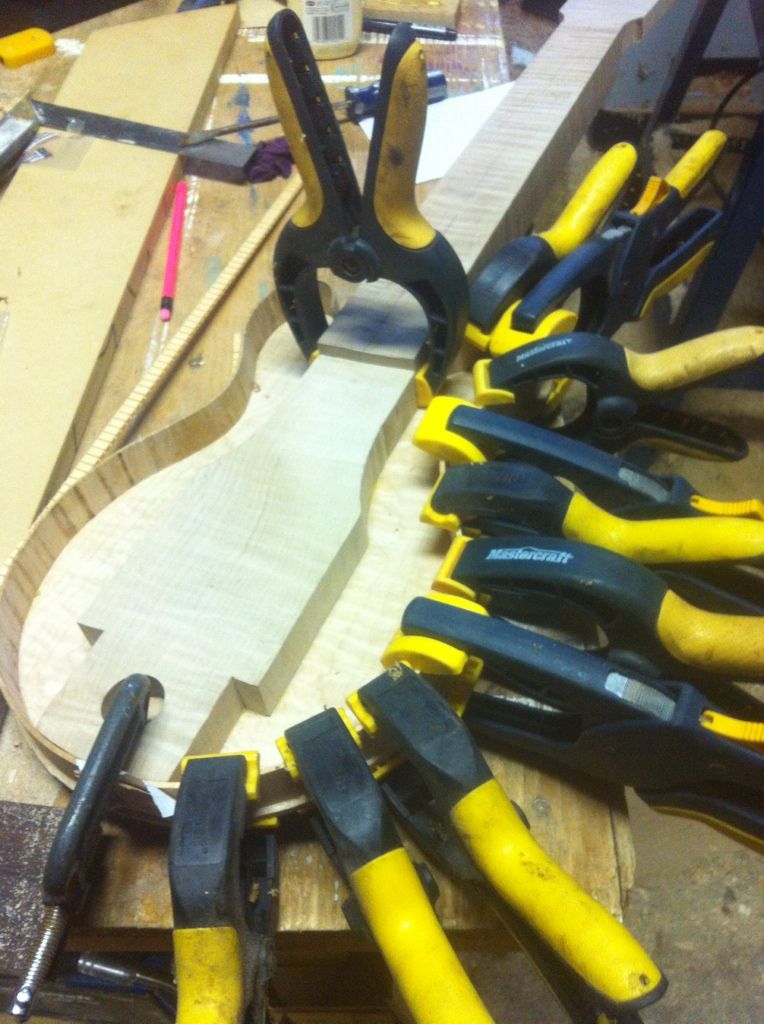
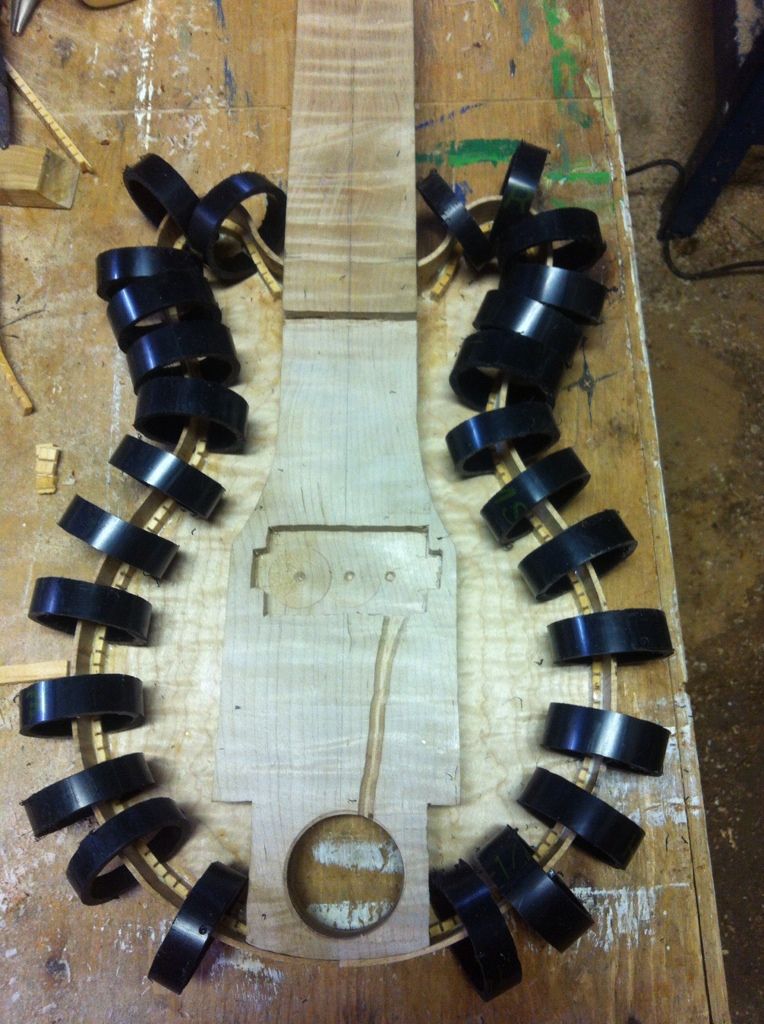
Glueing in the lining with some clamps I made from an abs pipe
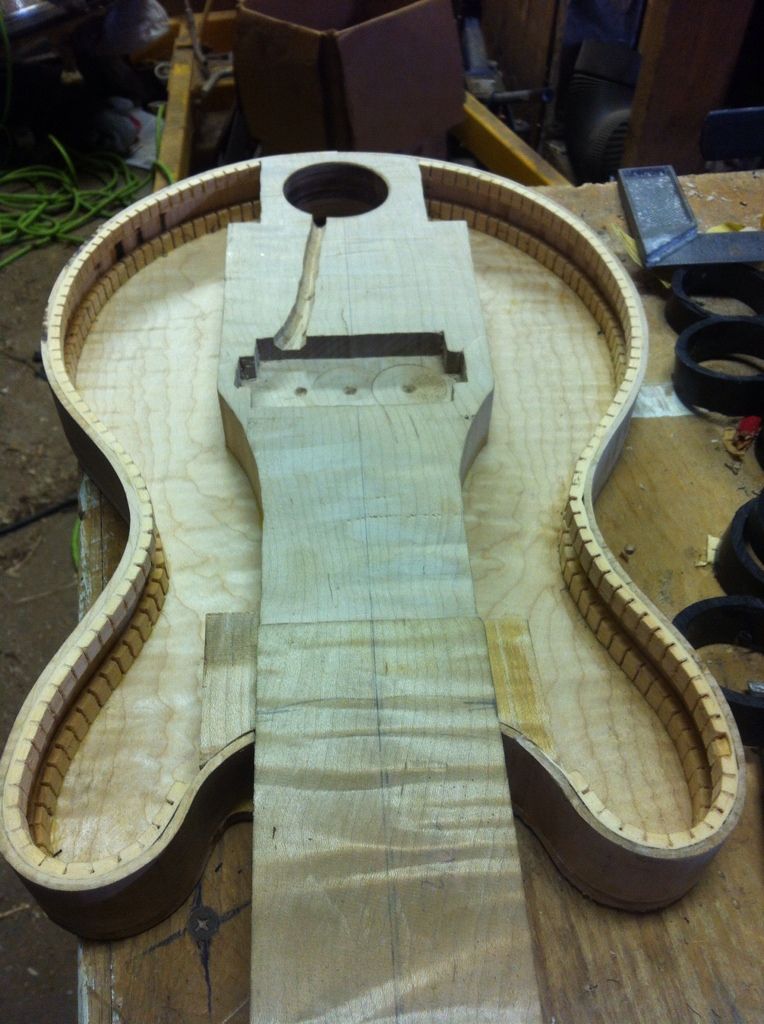
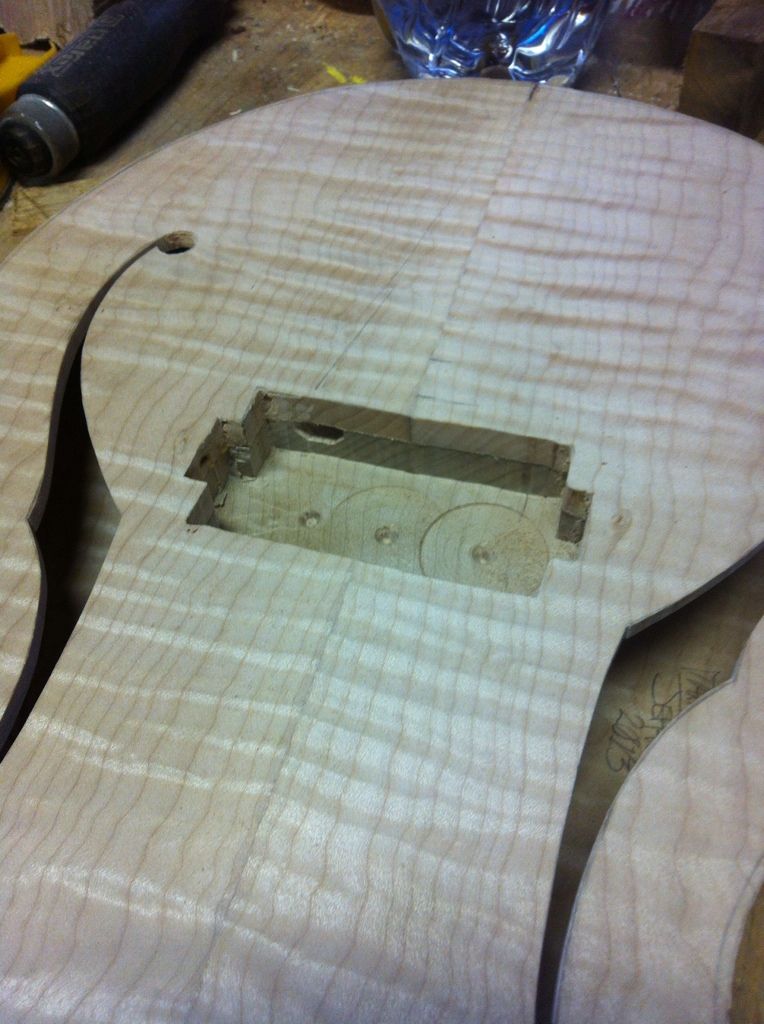
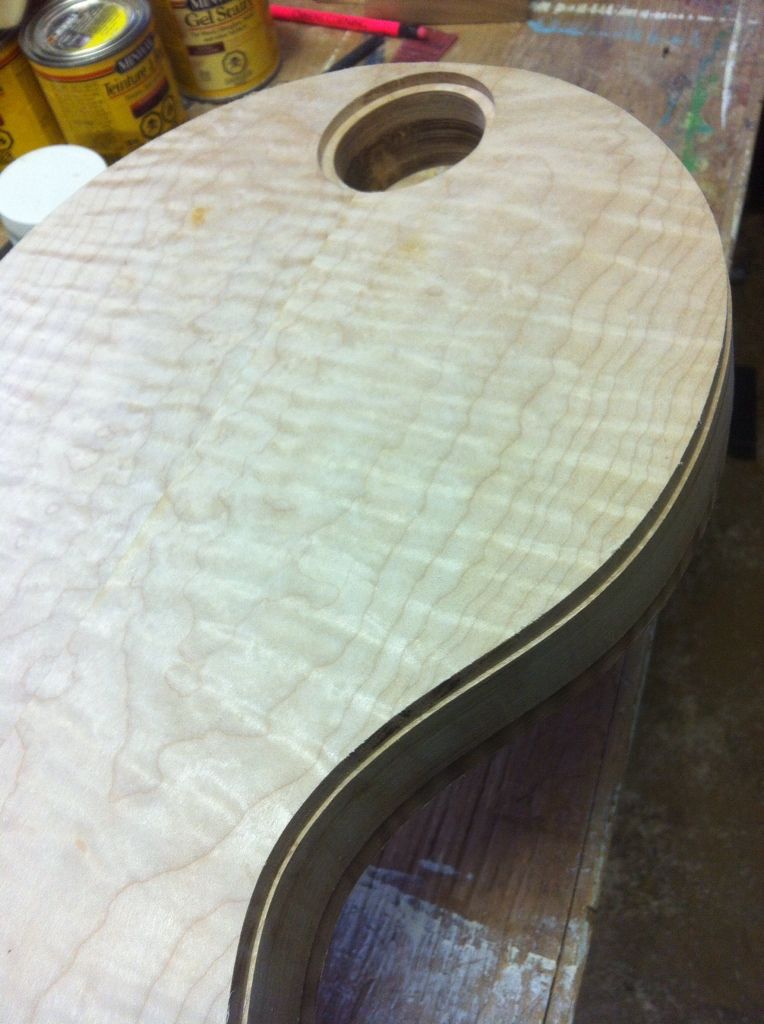
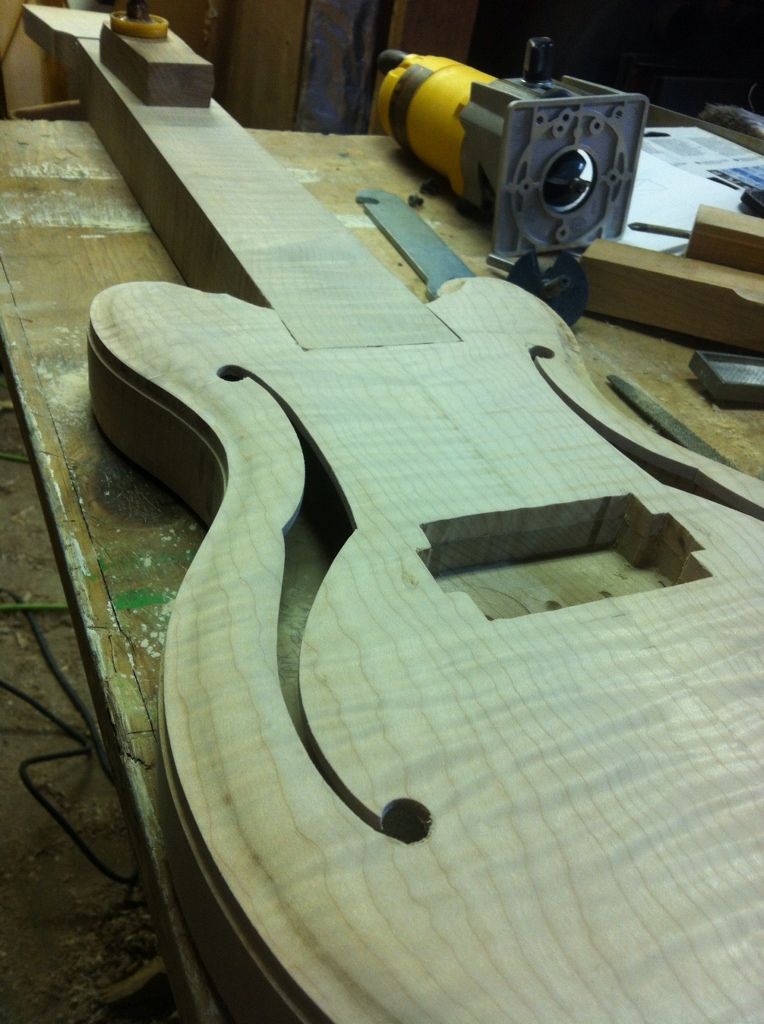
Pick up hole and a channel for the nut to sit in routed out
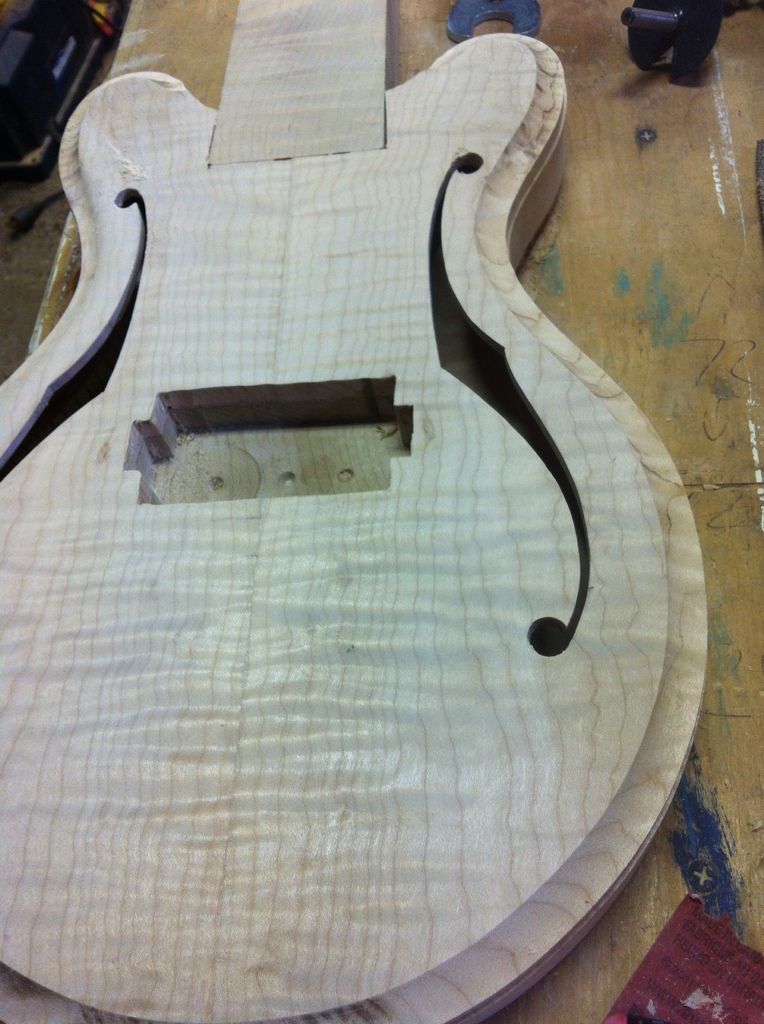
Binding channels and a very small access for wiring, I'm only using a tone knob so I should be able to cram it all in there.
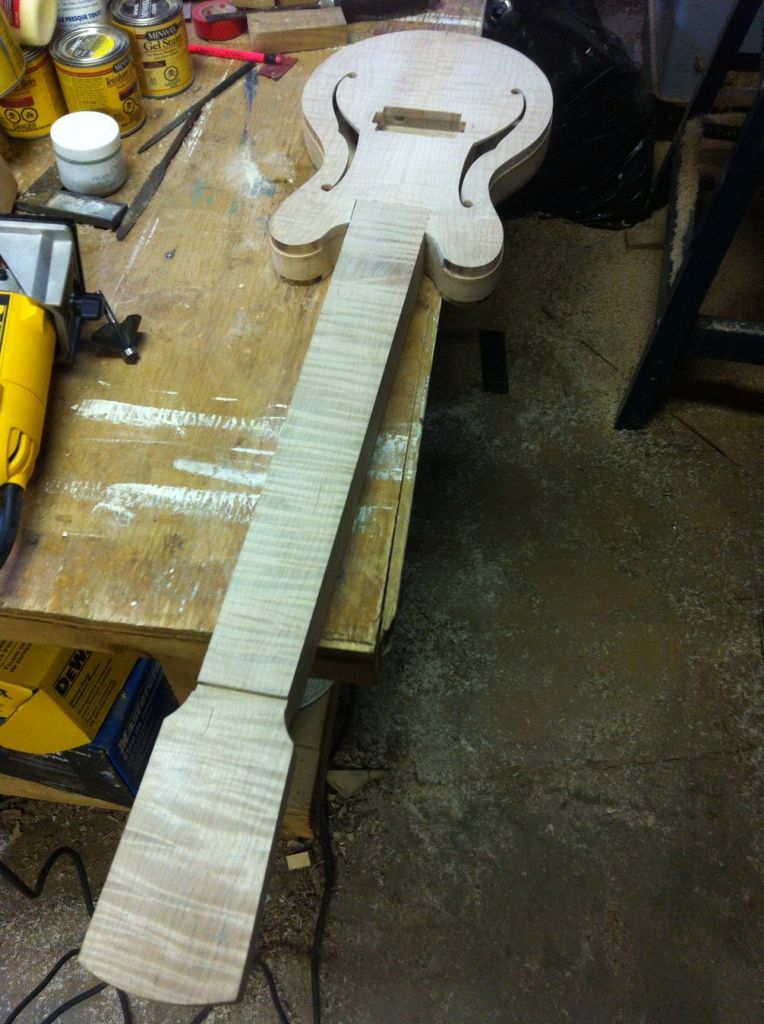
Getting there,.
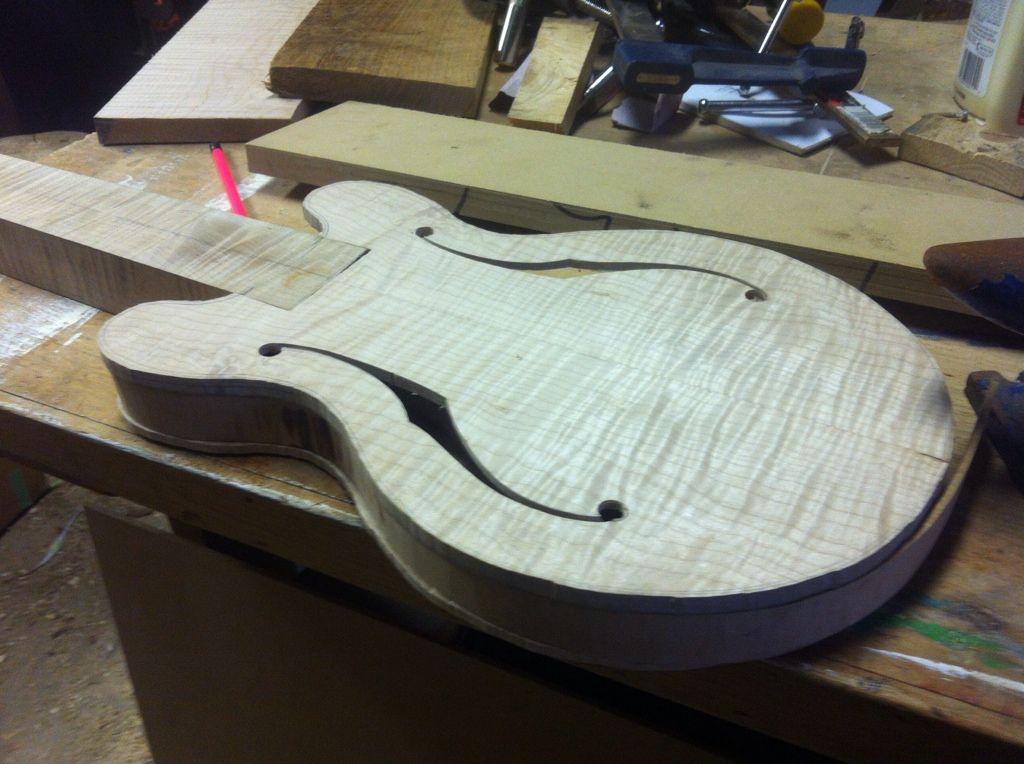
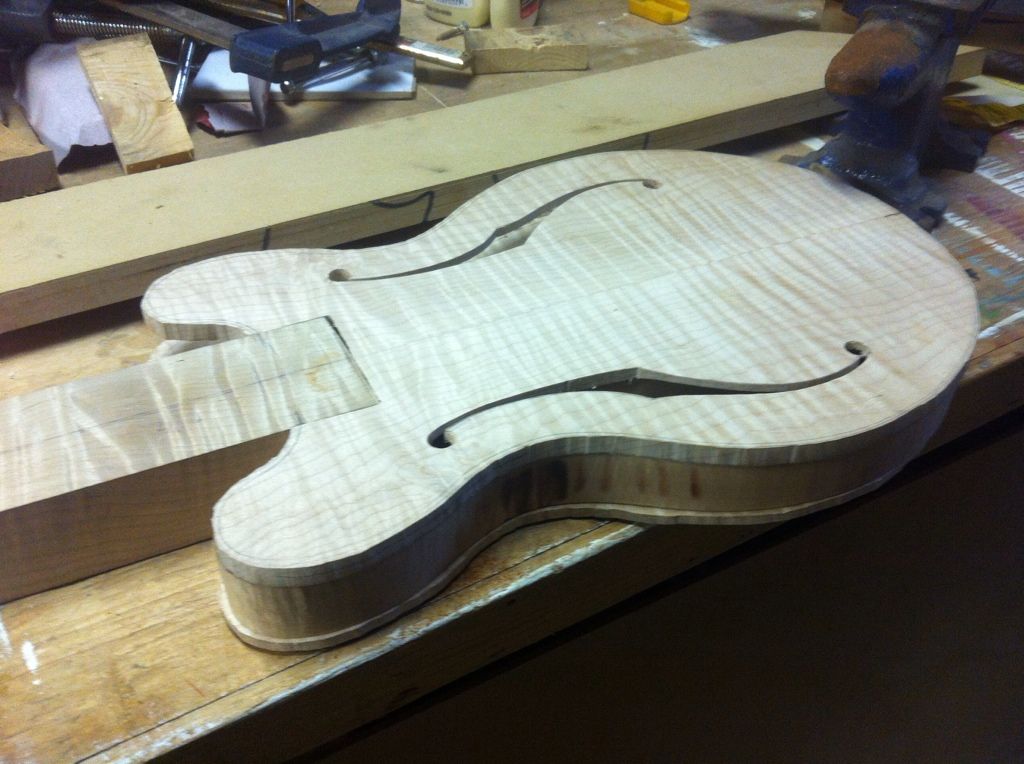
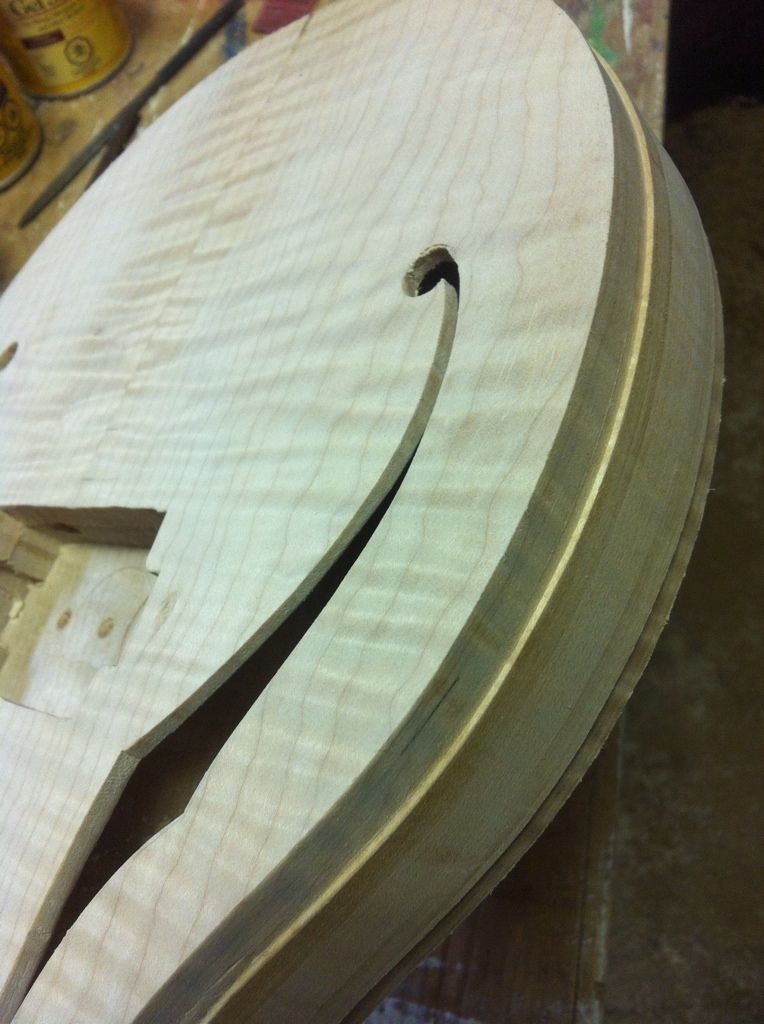
Started of with the router to shape the top, then a lot of filing and sanding
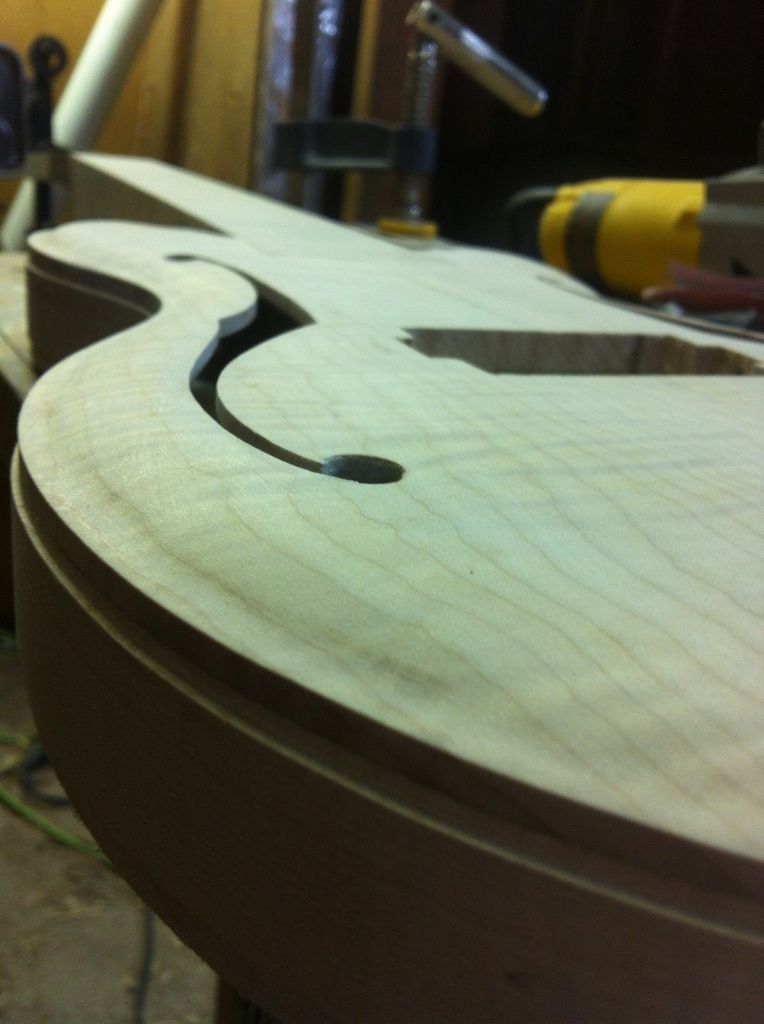
The finished shape
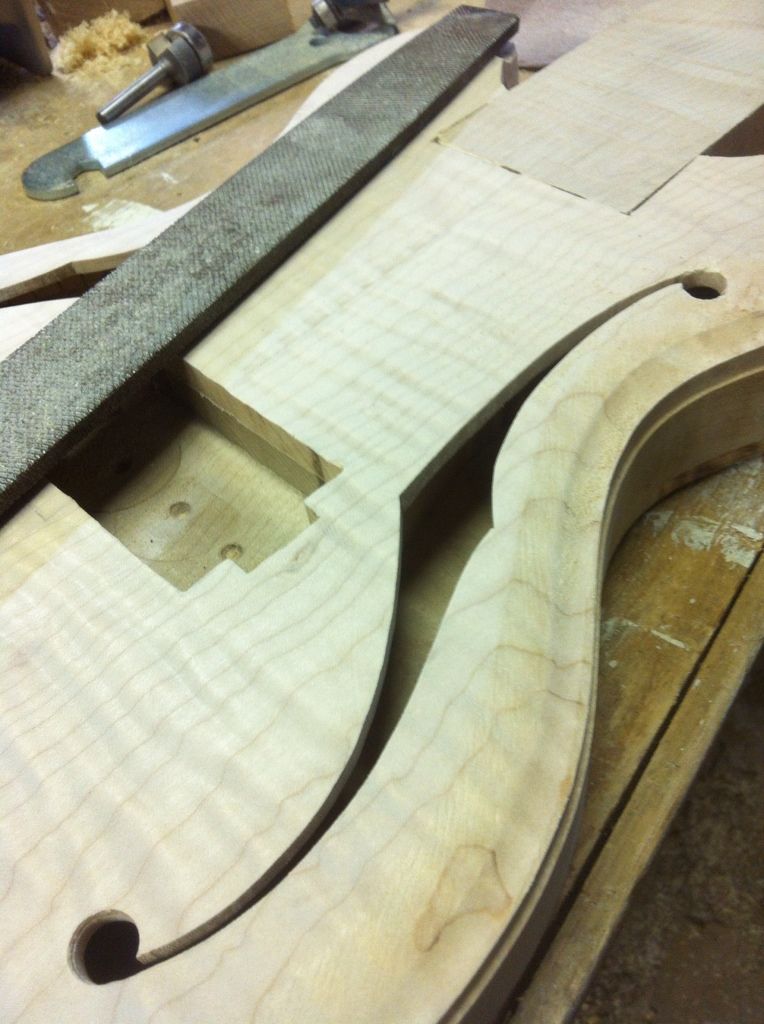
I need to cut the binding channels by hand up close to the neck where the router bit wouldn't fit, that's this mornings project.. Then hopfully get the bindings glued on.