I love your curly maple green PSG
You might be interrested by a step by step of the technique I use for these inlays (remember, I did the logo the classic way, and it's the first time I do this way)
If you're not, feel free to skip the post of course, I'm not a master
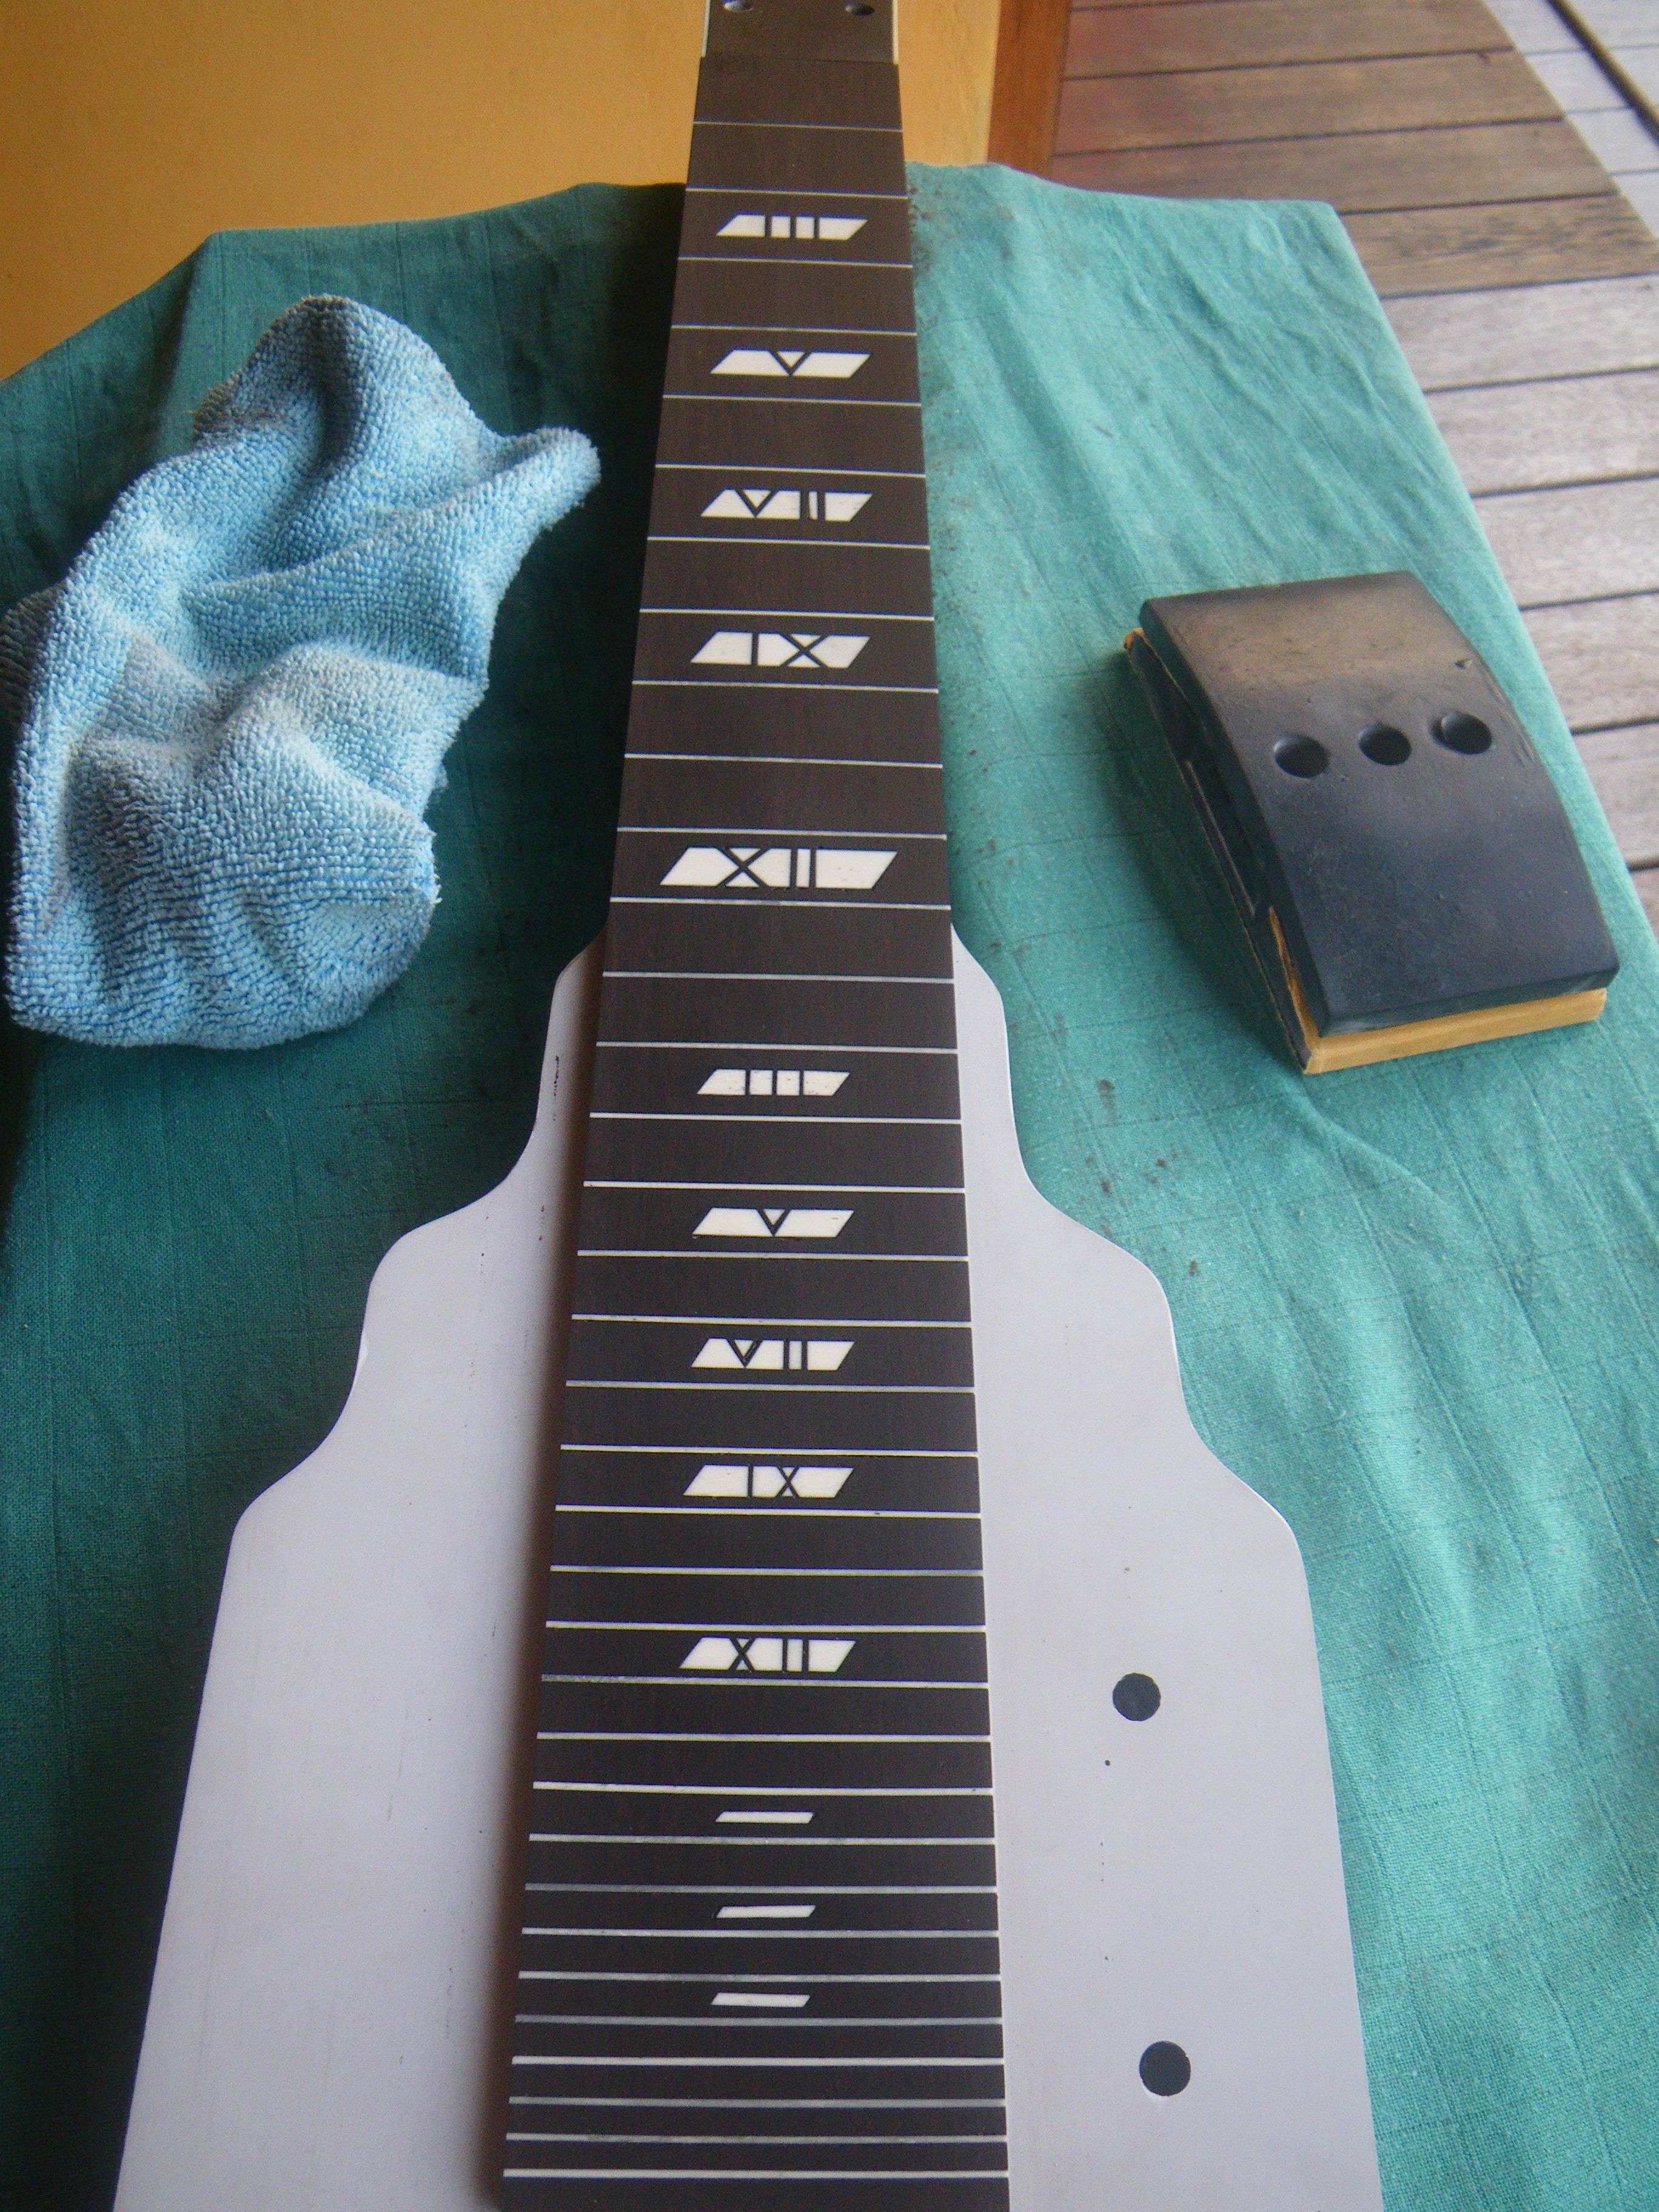
first, a good grawing of the pattern (CAD is the best), glued in place with white glue:
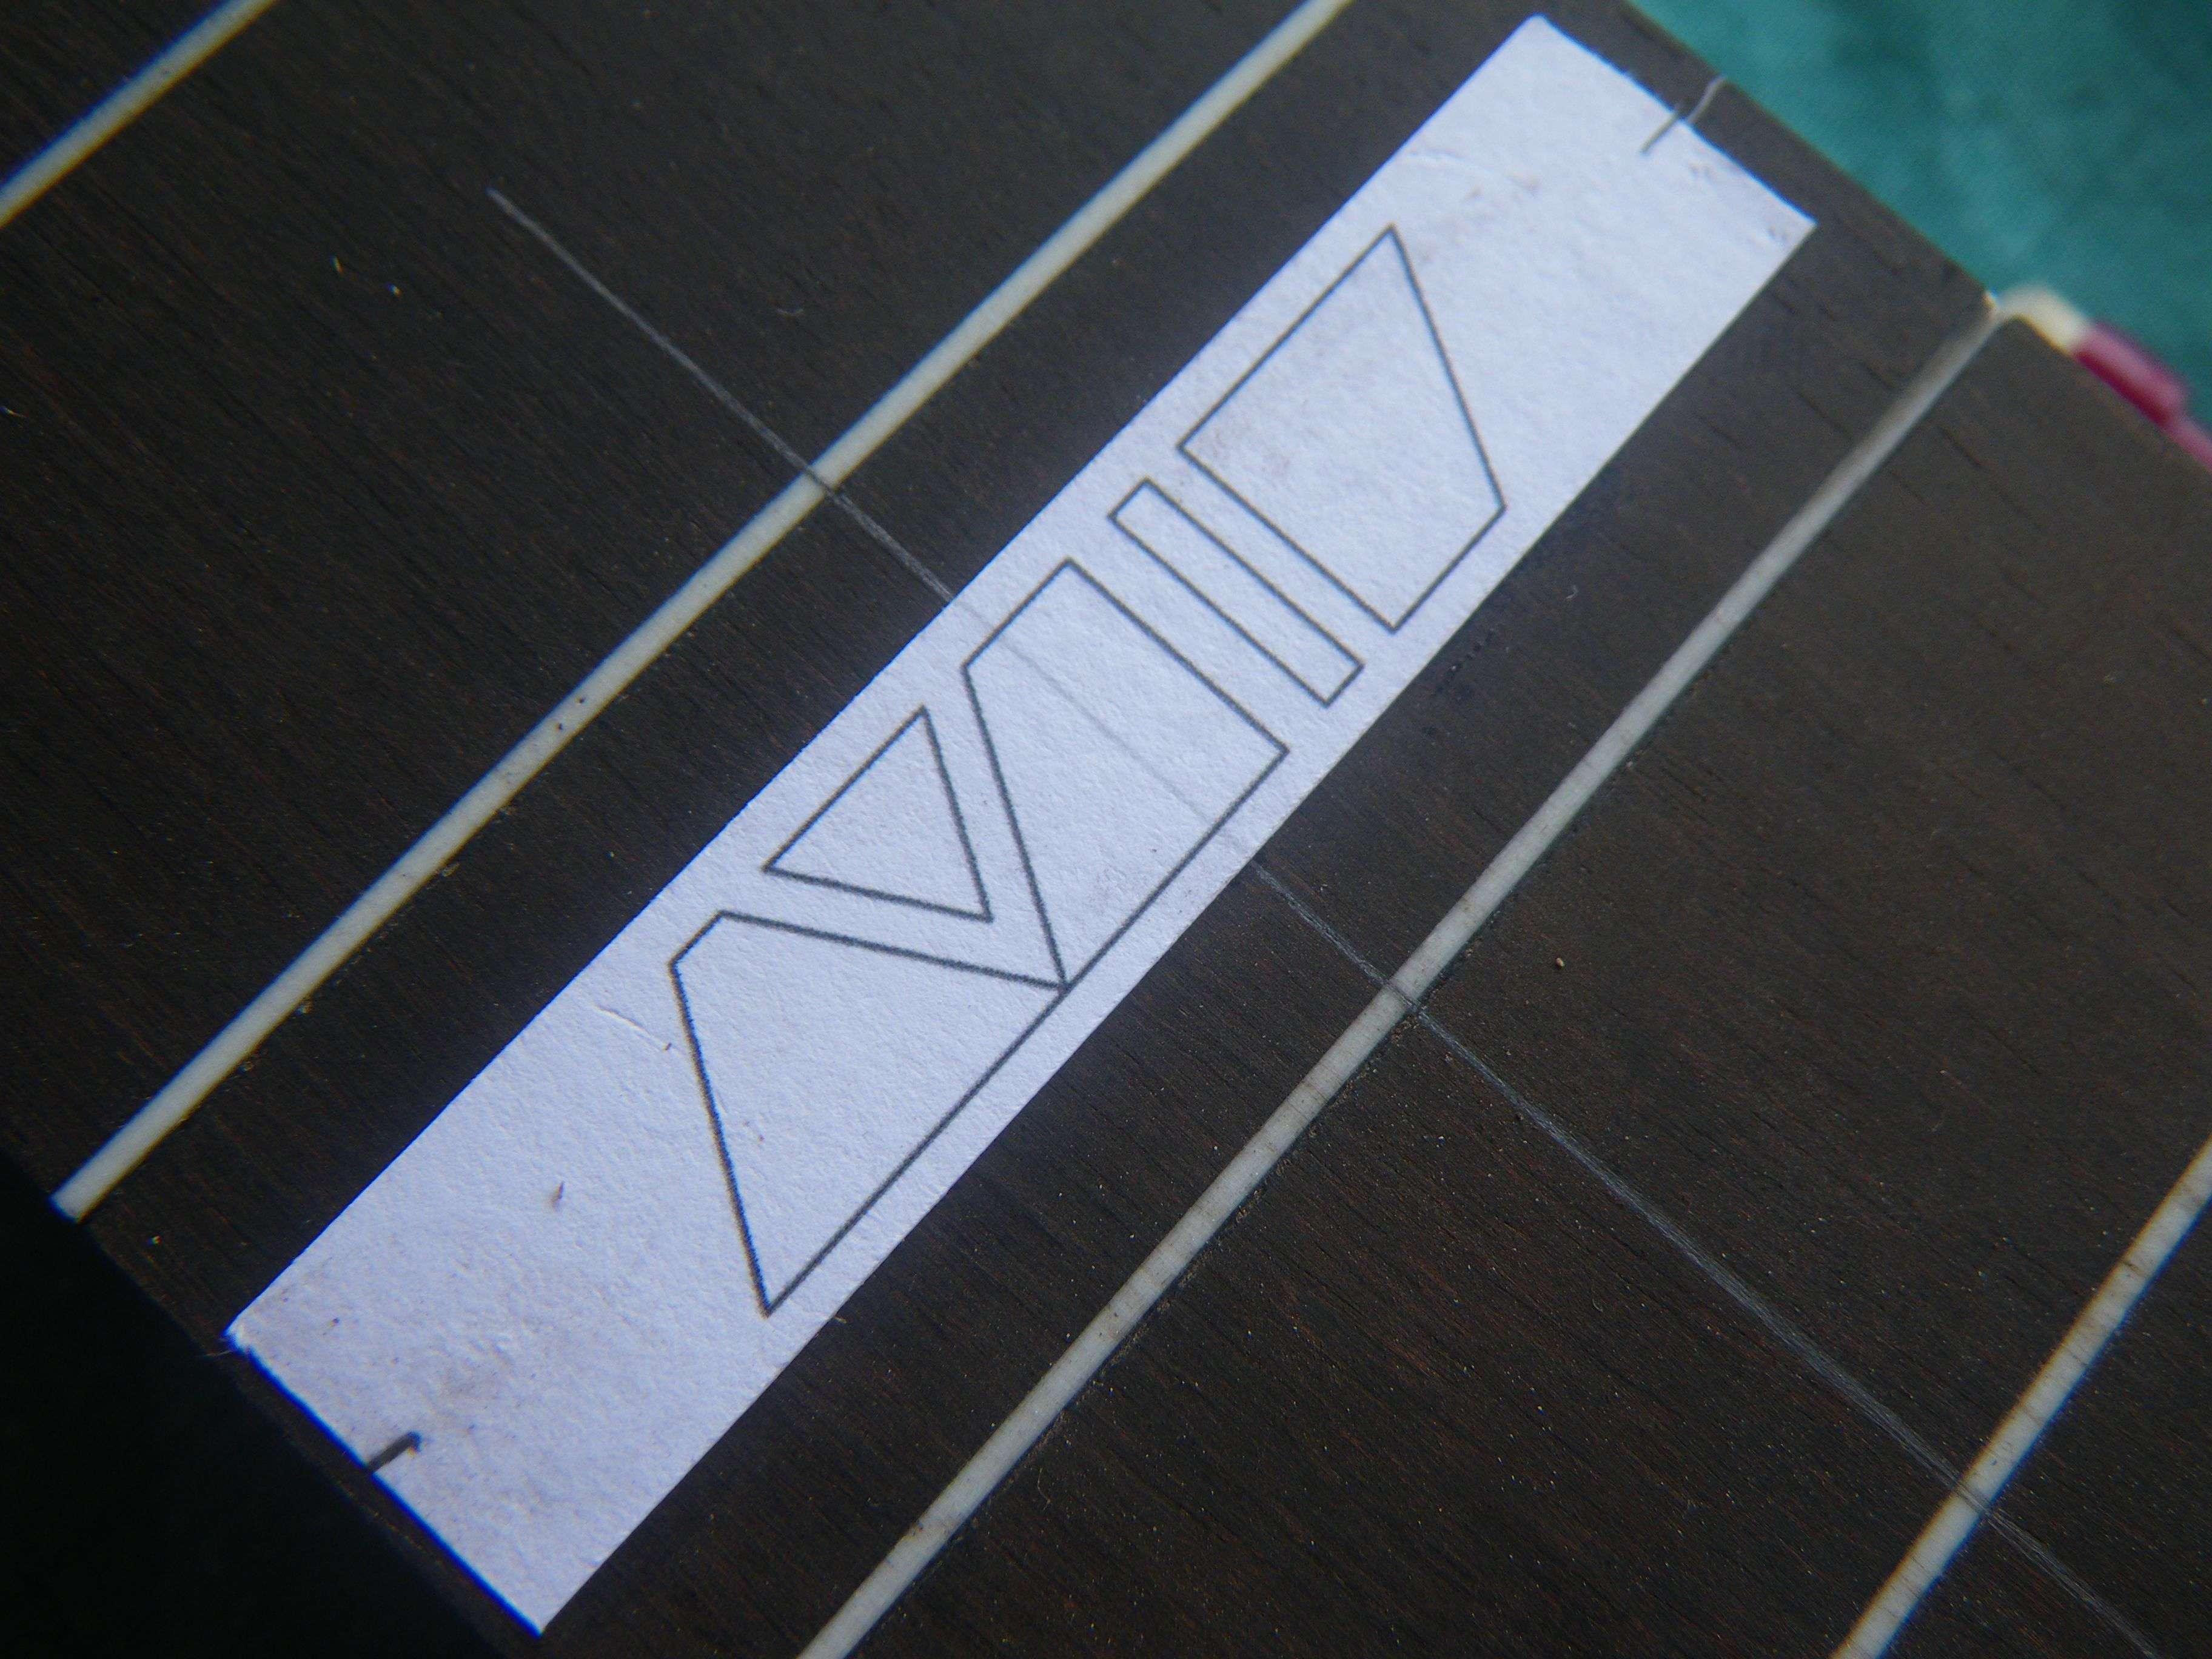
Then with an Xacto and a straight rule, cut the outside line of the pattern (that cuts the wood and paper fibers)
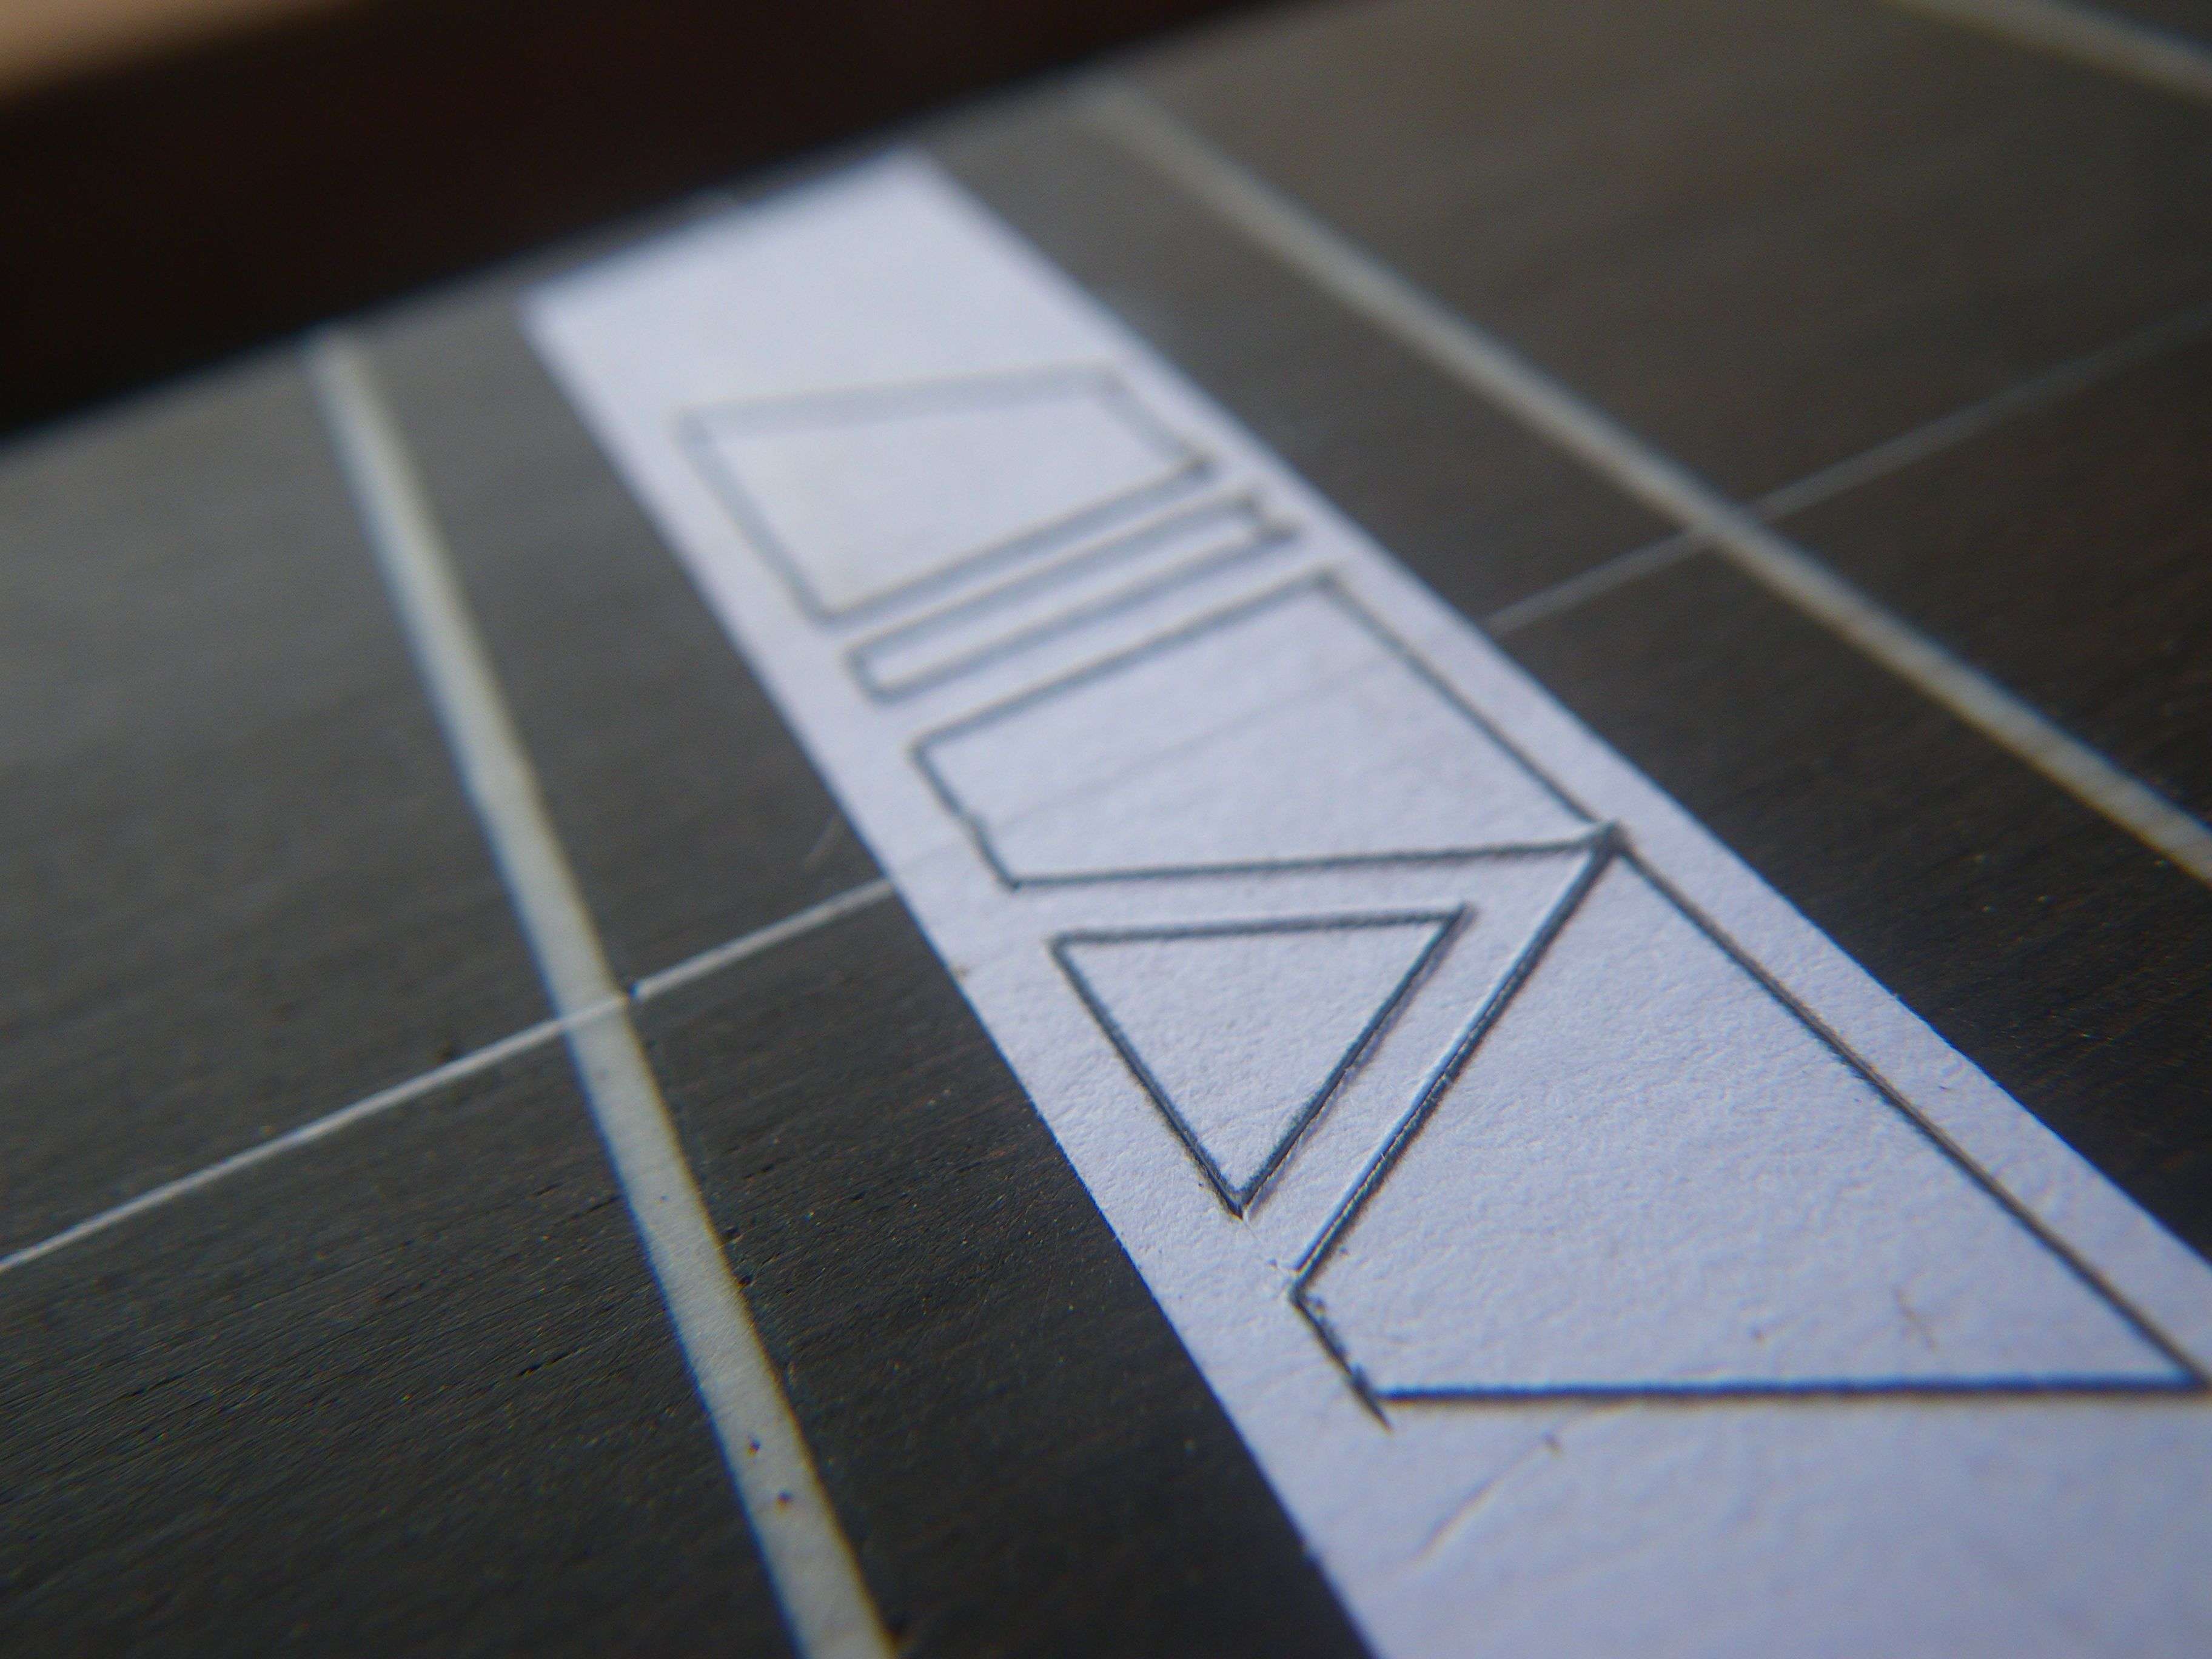
then I use a caul to guide the stewmac dremel support for the upper and lower straight lines
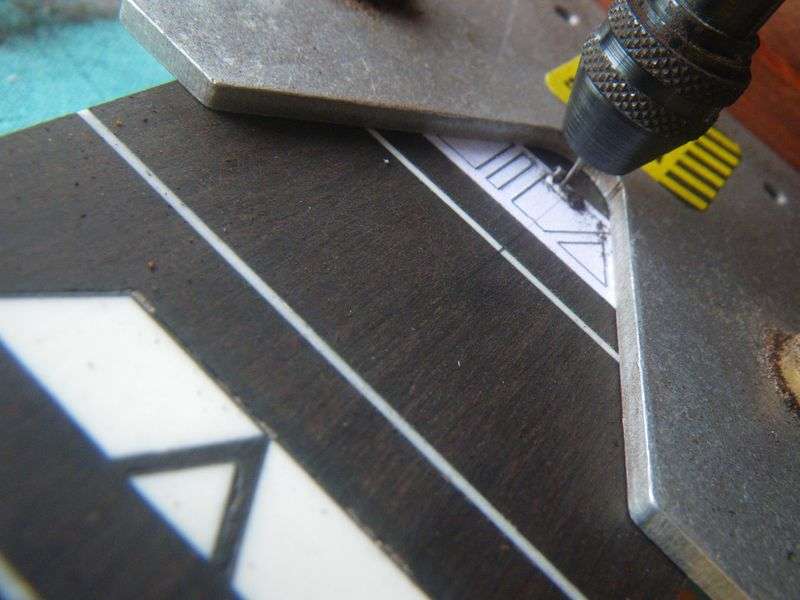
I use the 1/32" Stewmac downcut router bit at full speed and work very slowly
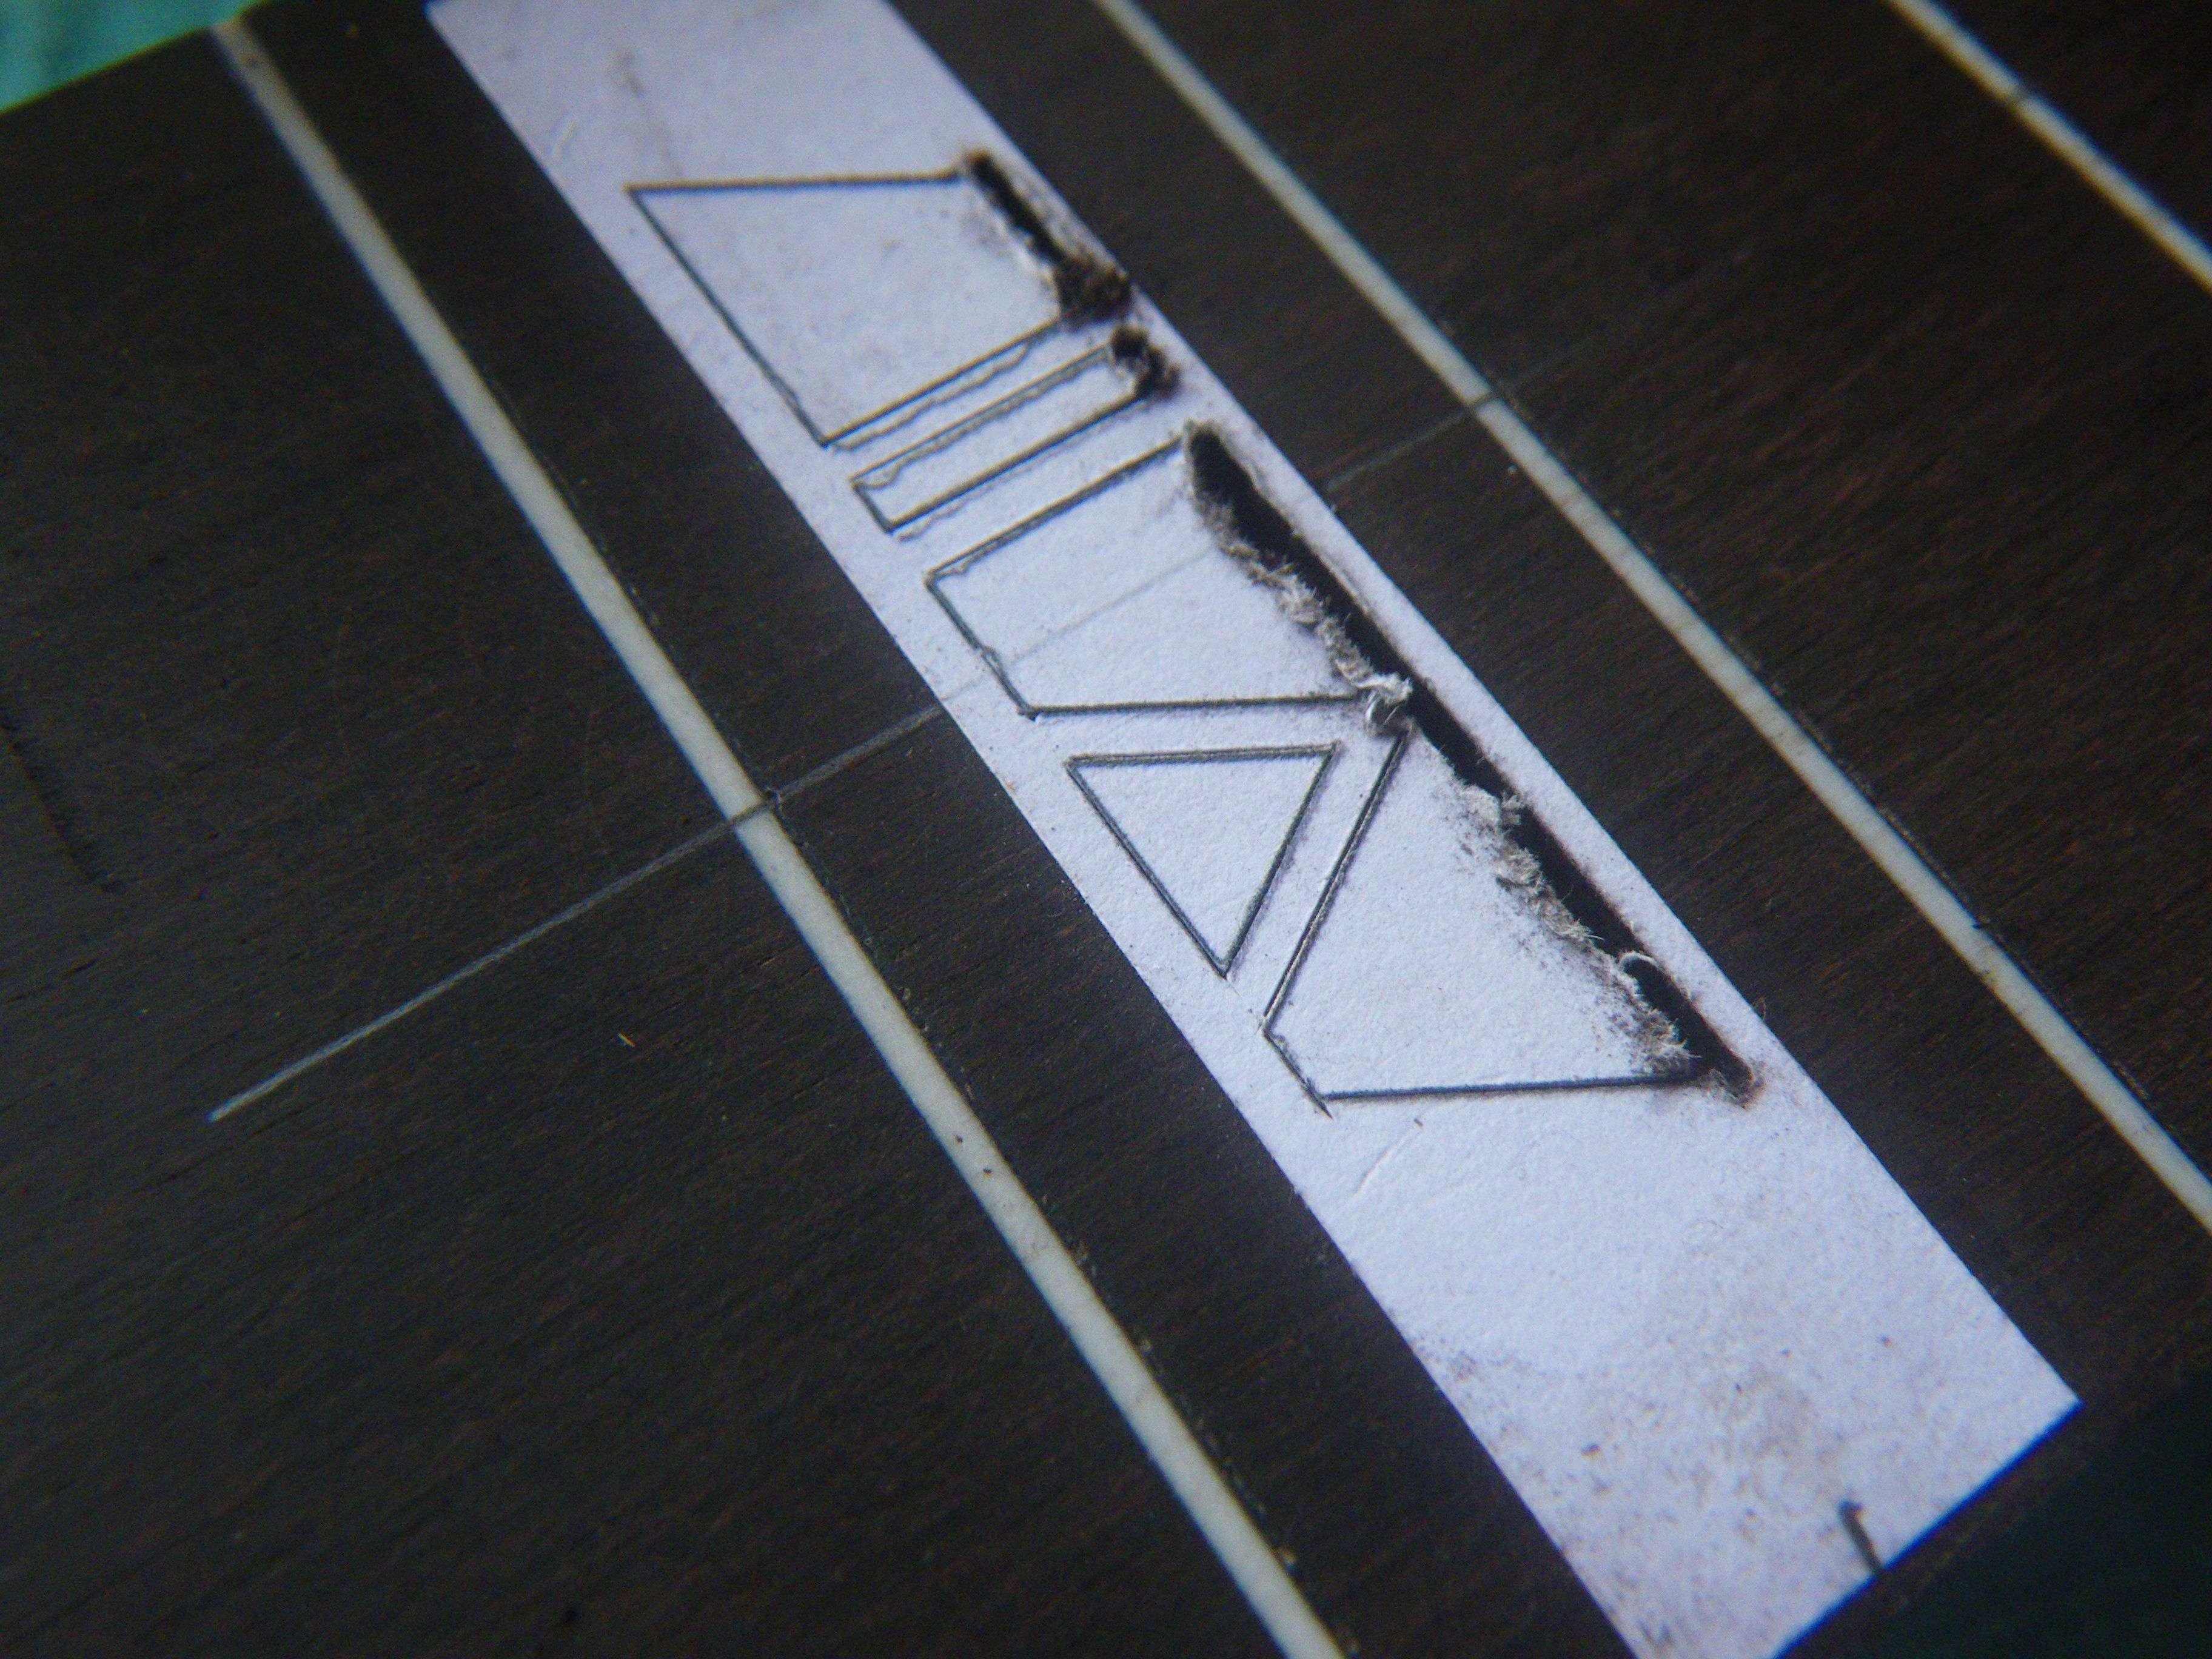
Then, with free hand I rout the cavities
As the paper was previously cut , the bit removes it when you rout on the lines
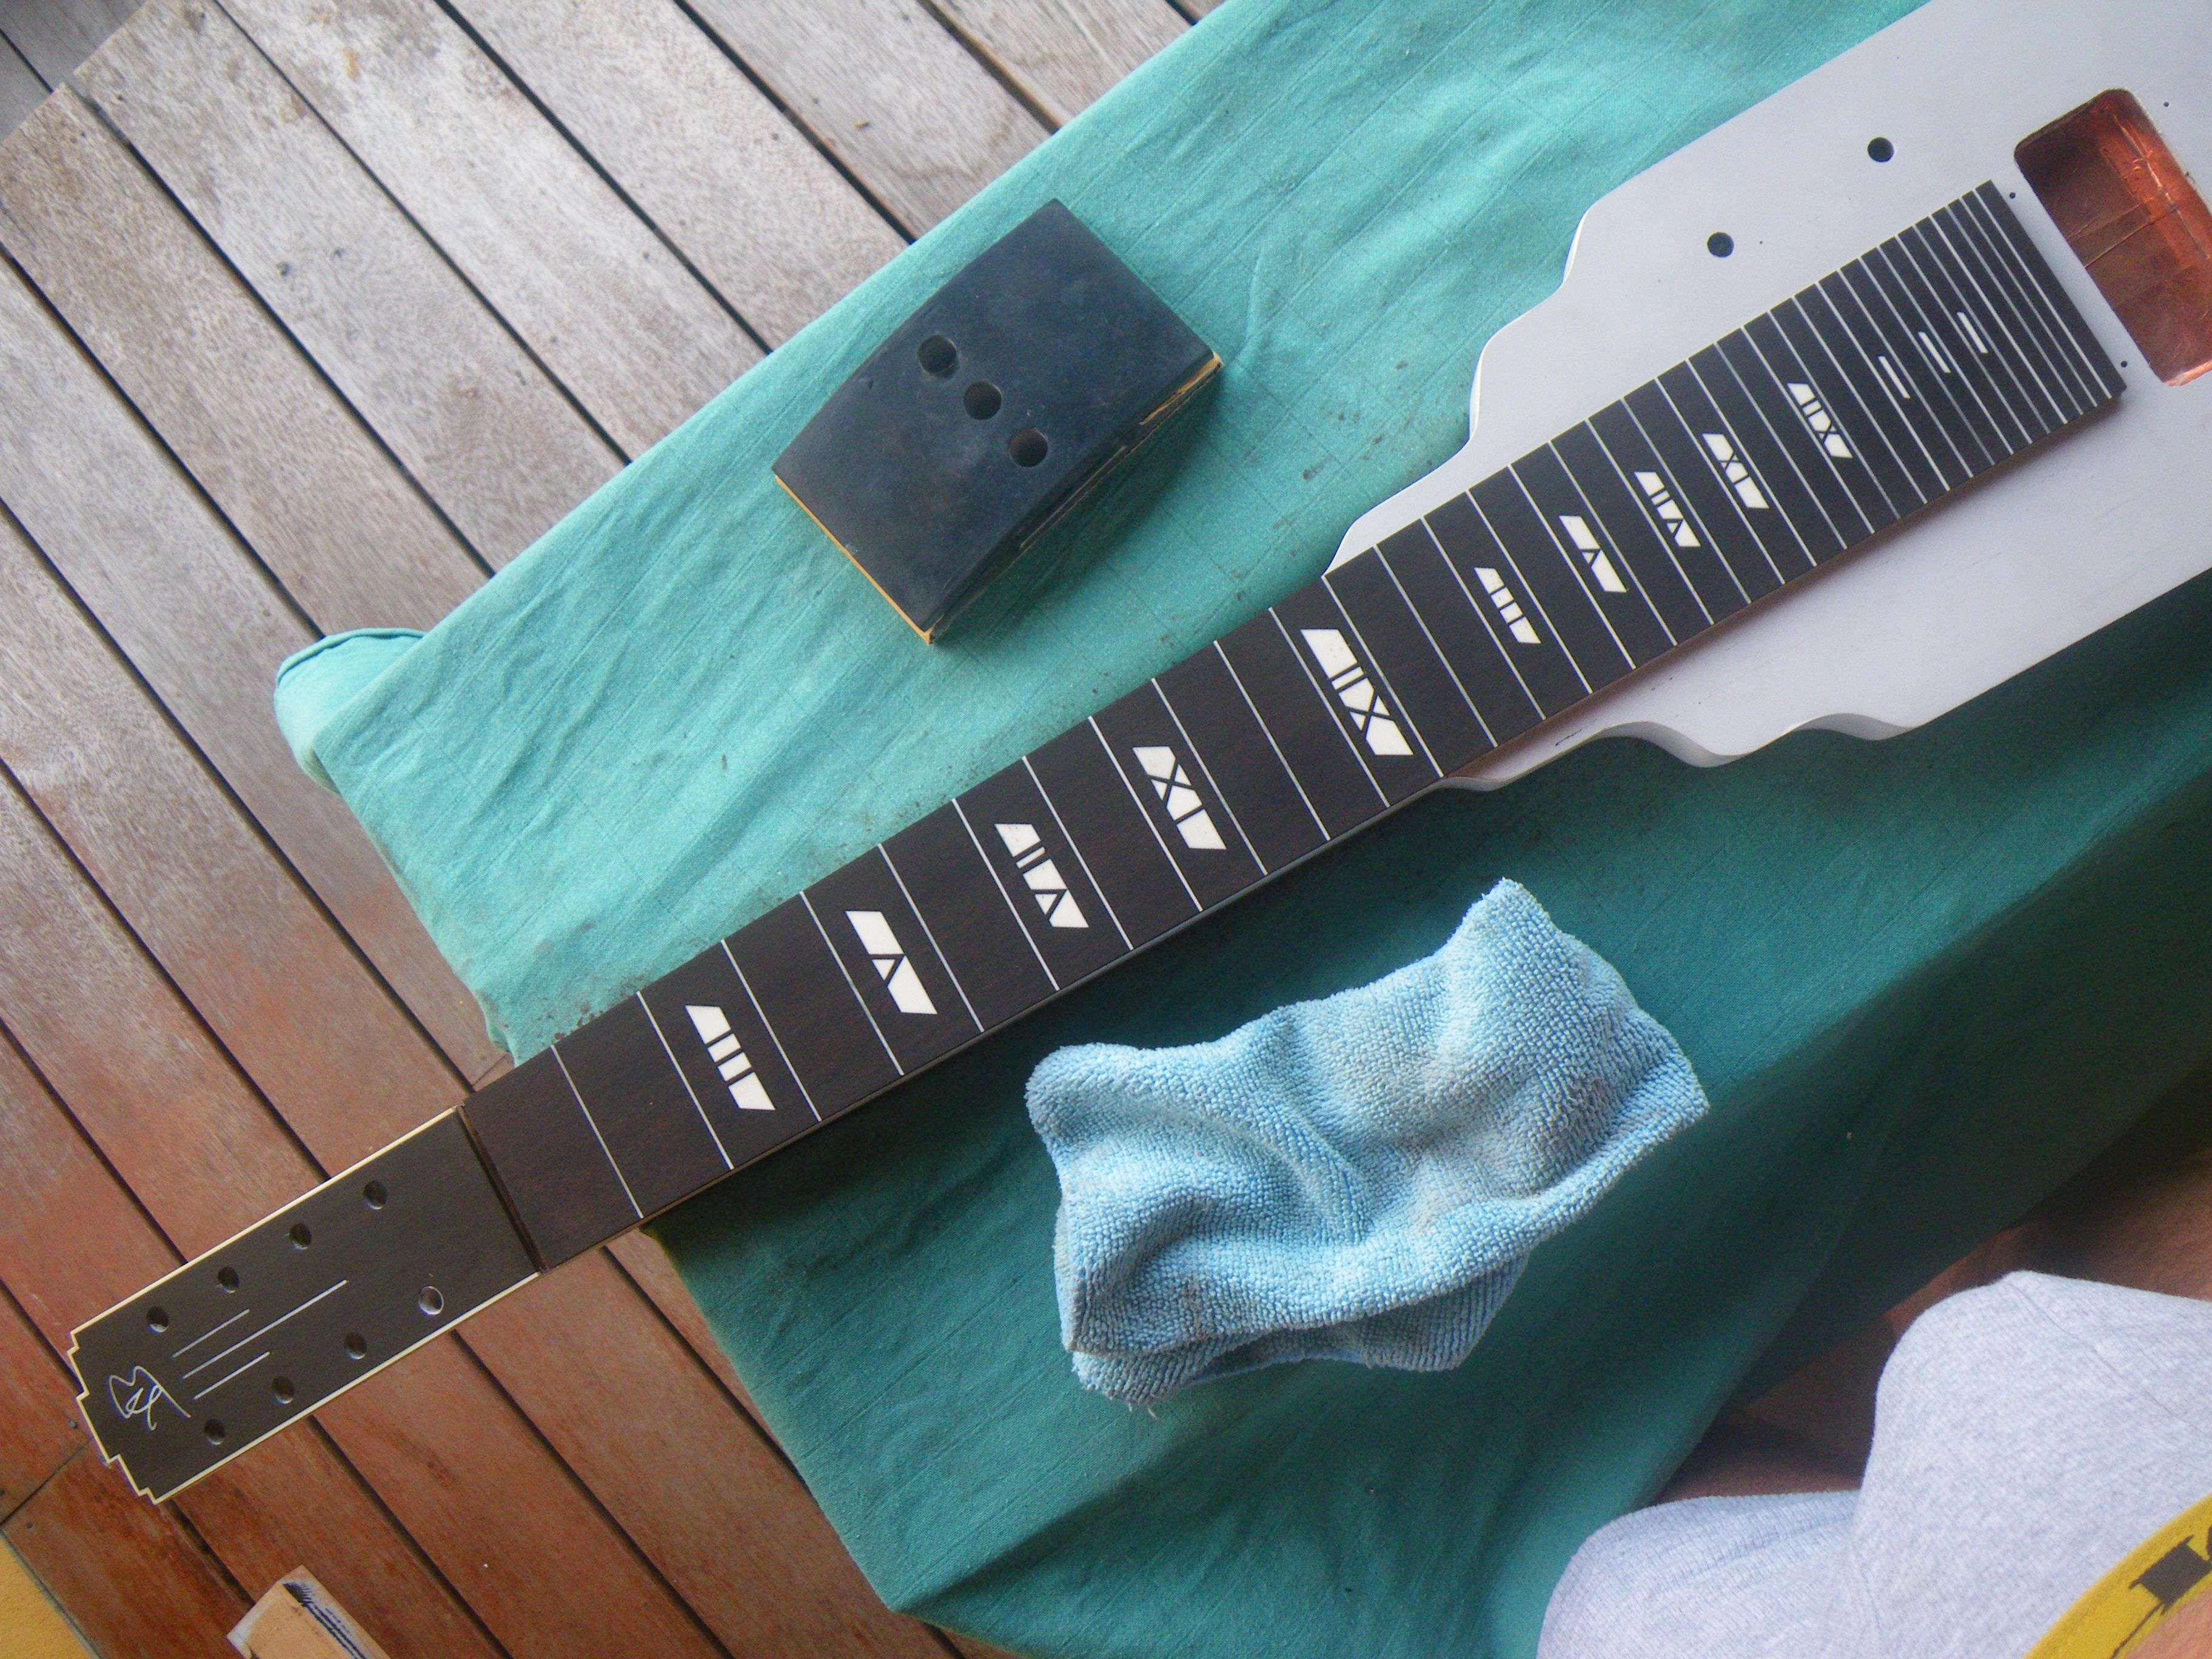
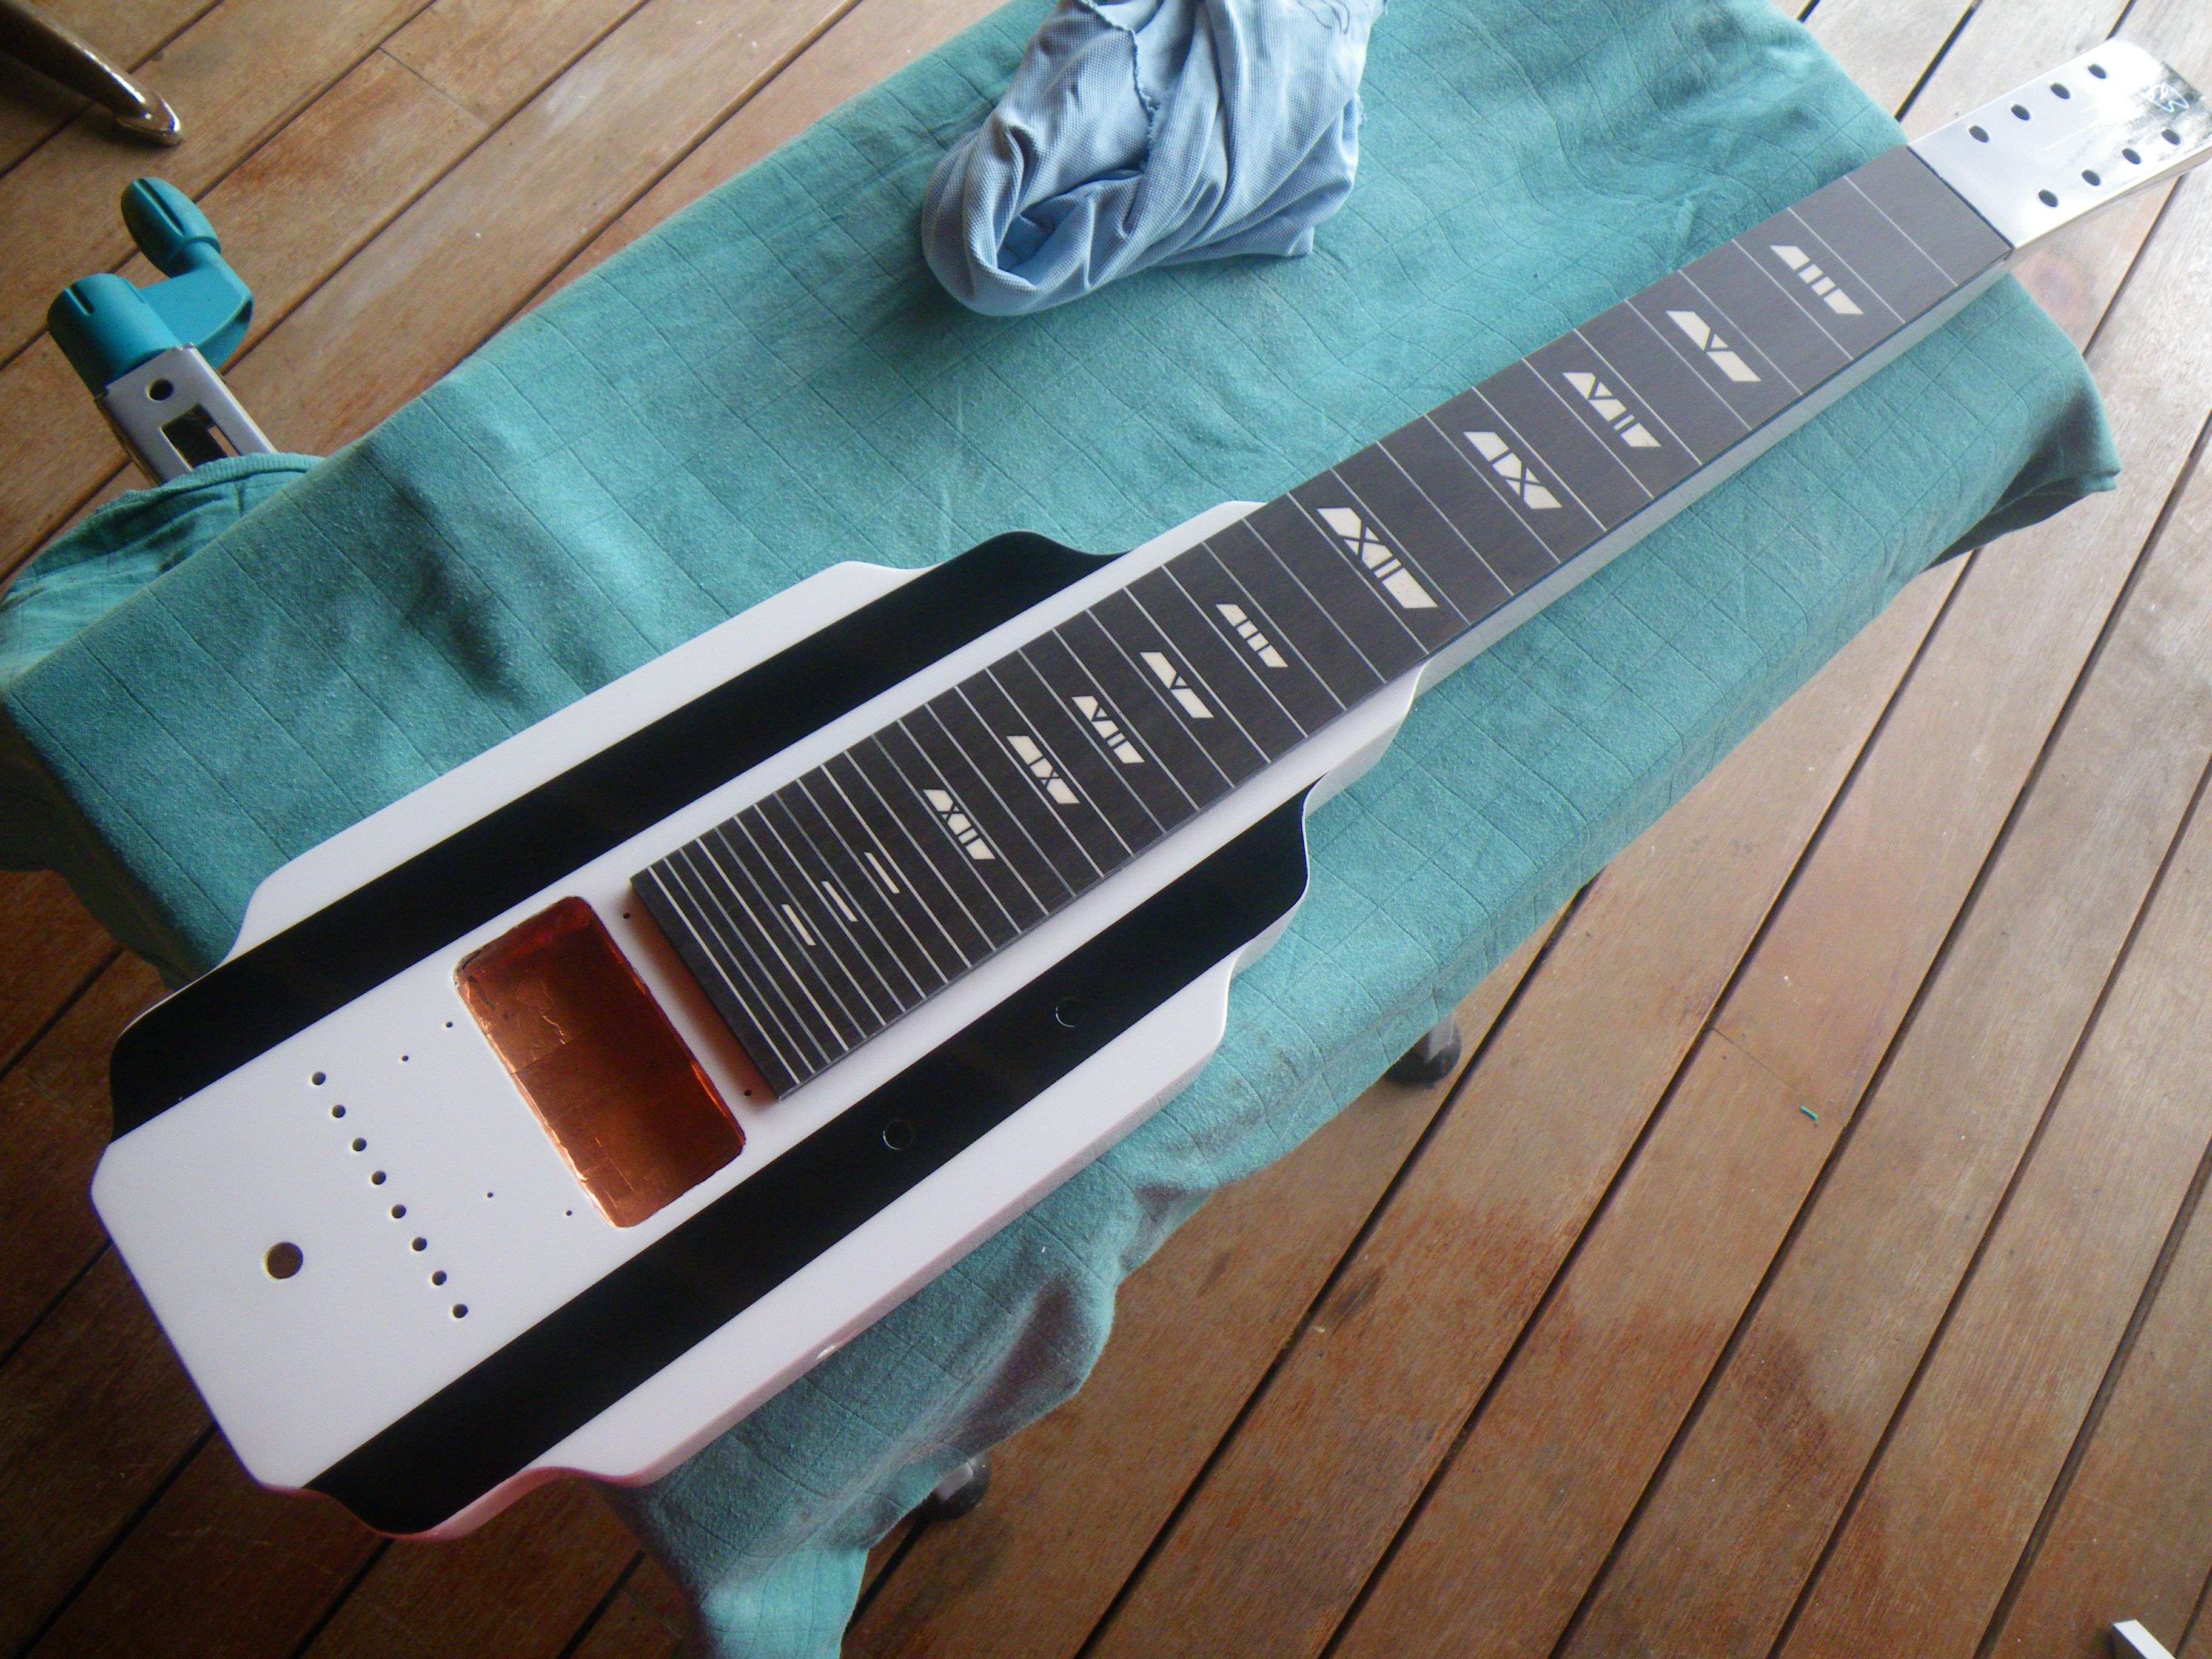
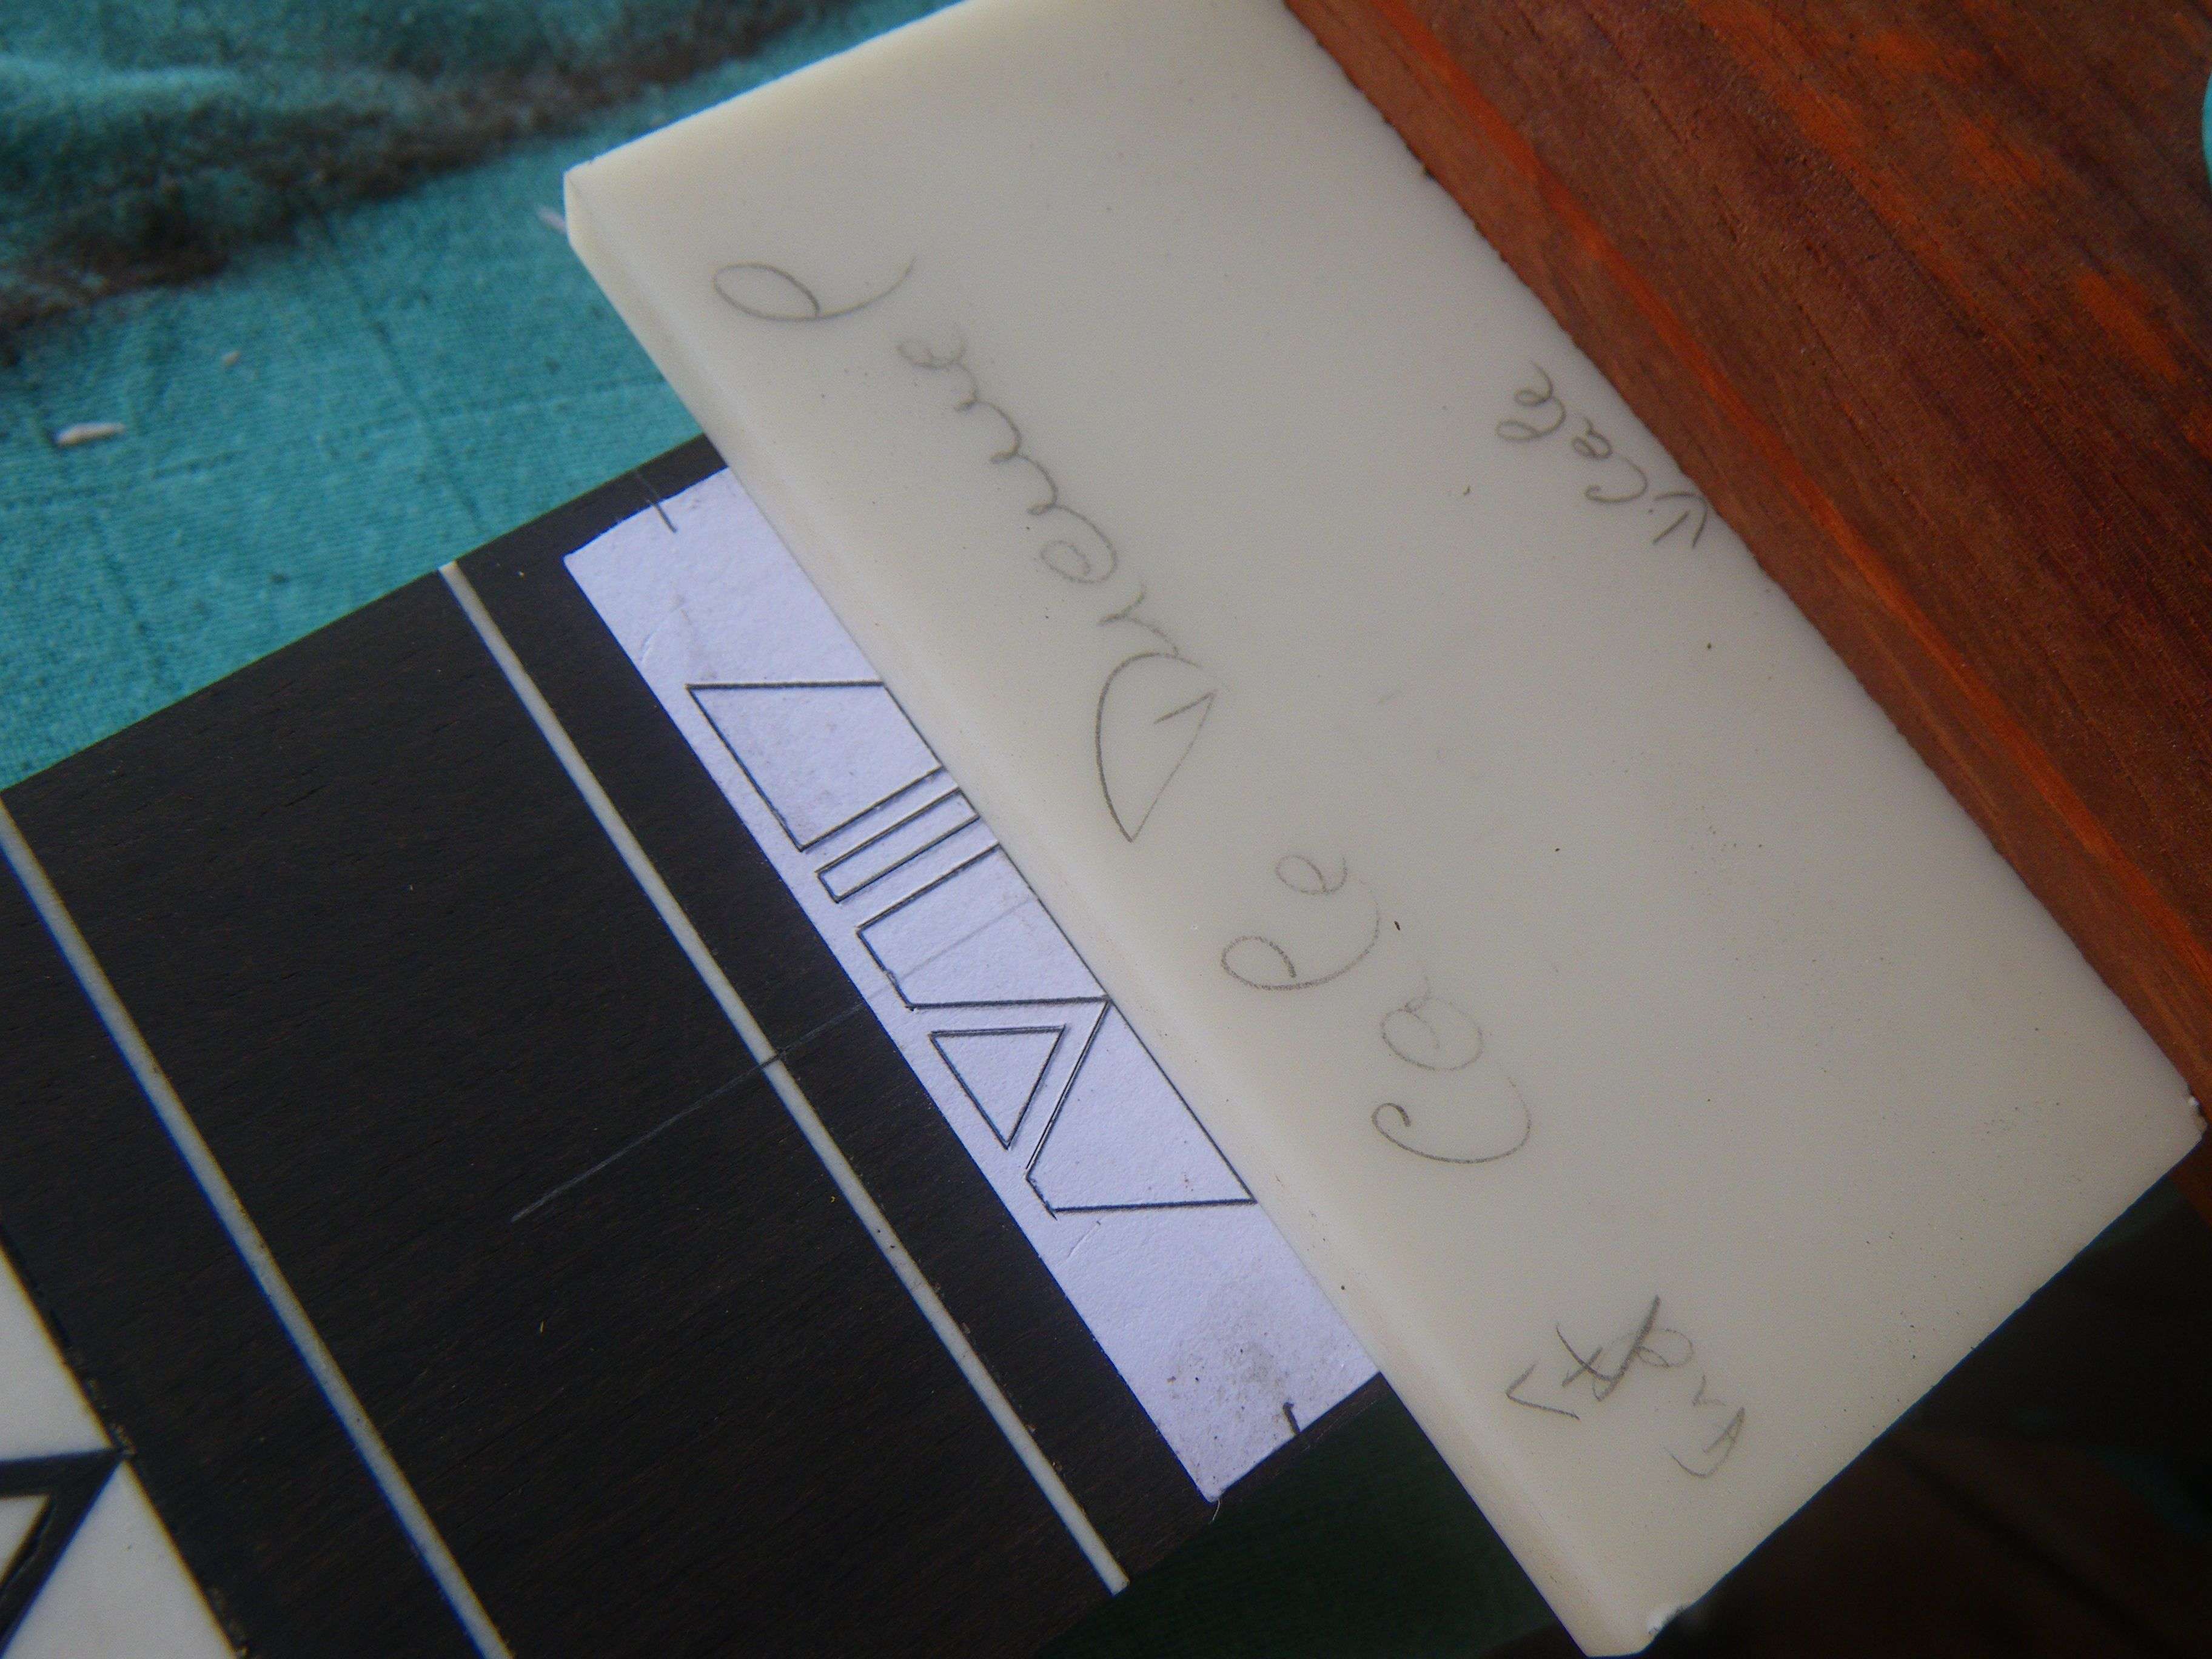
I think the result is pretty neat
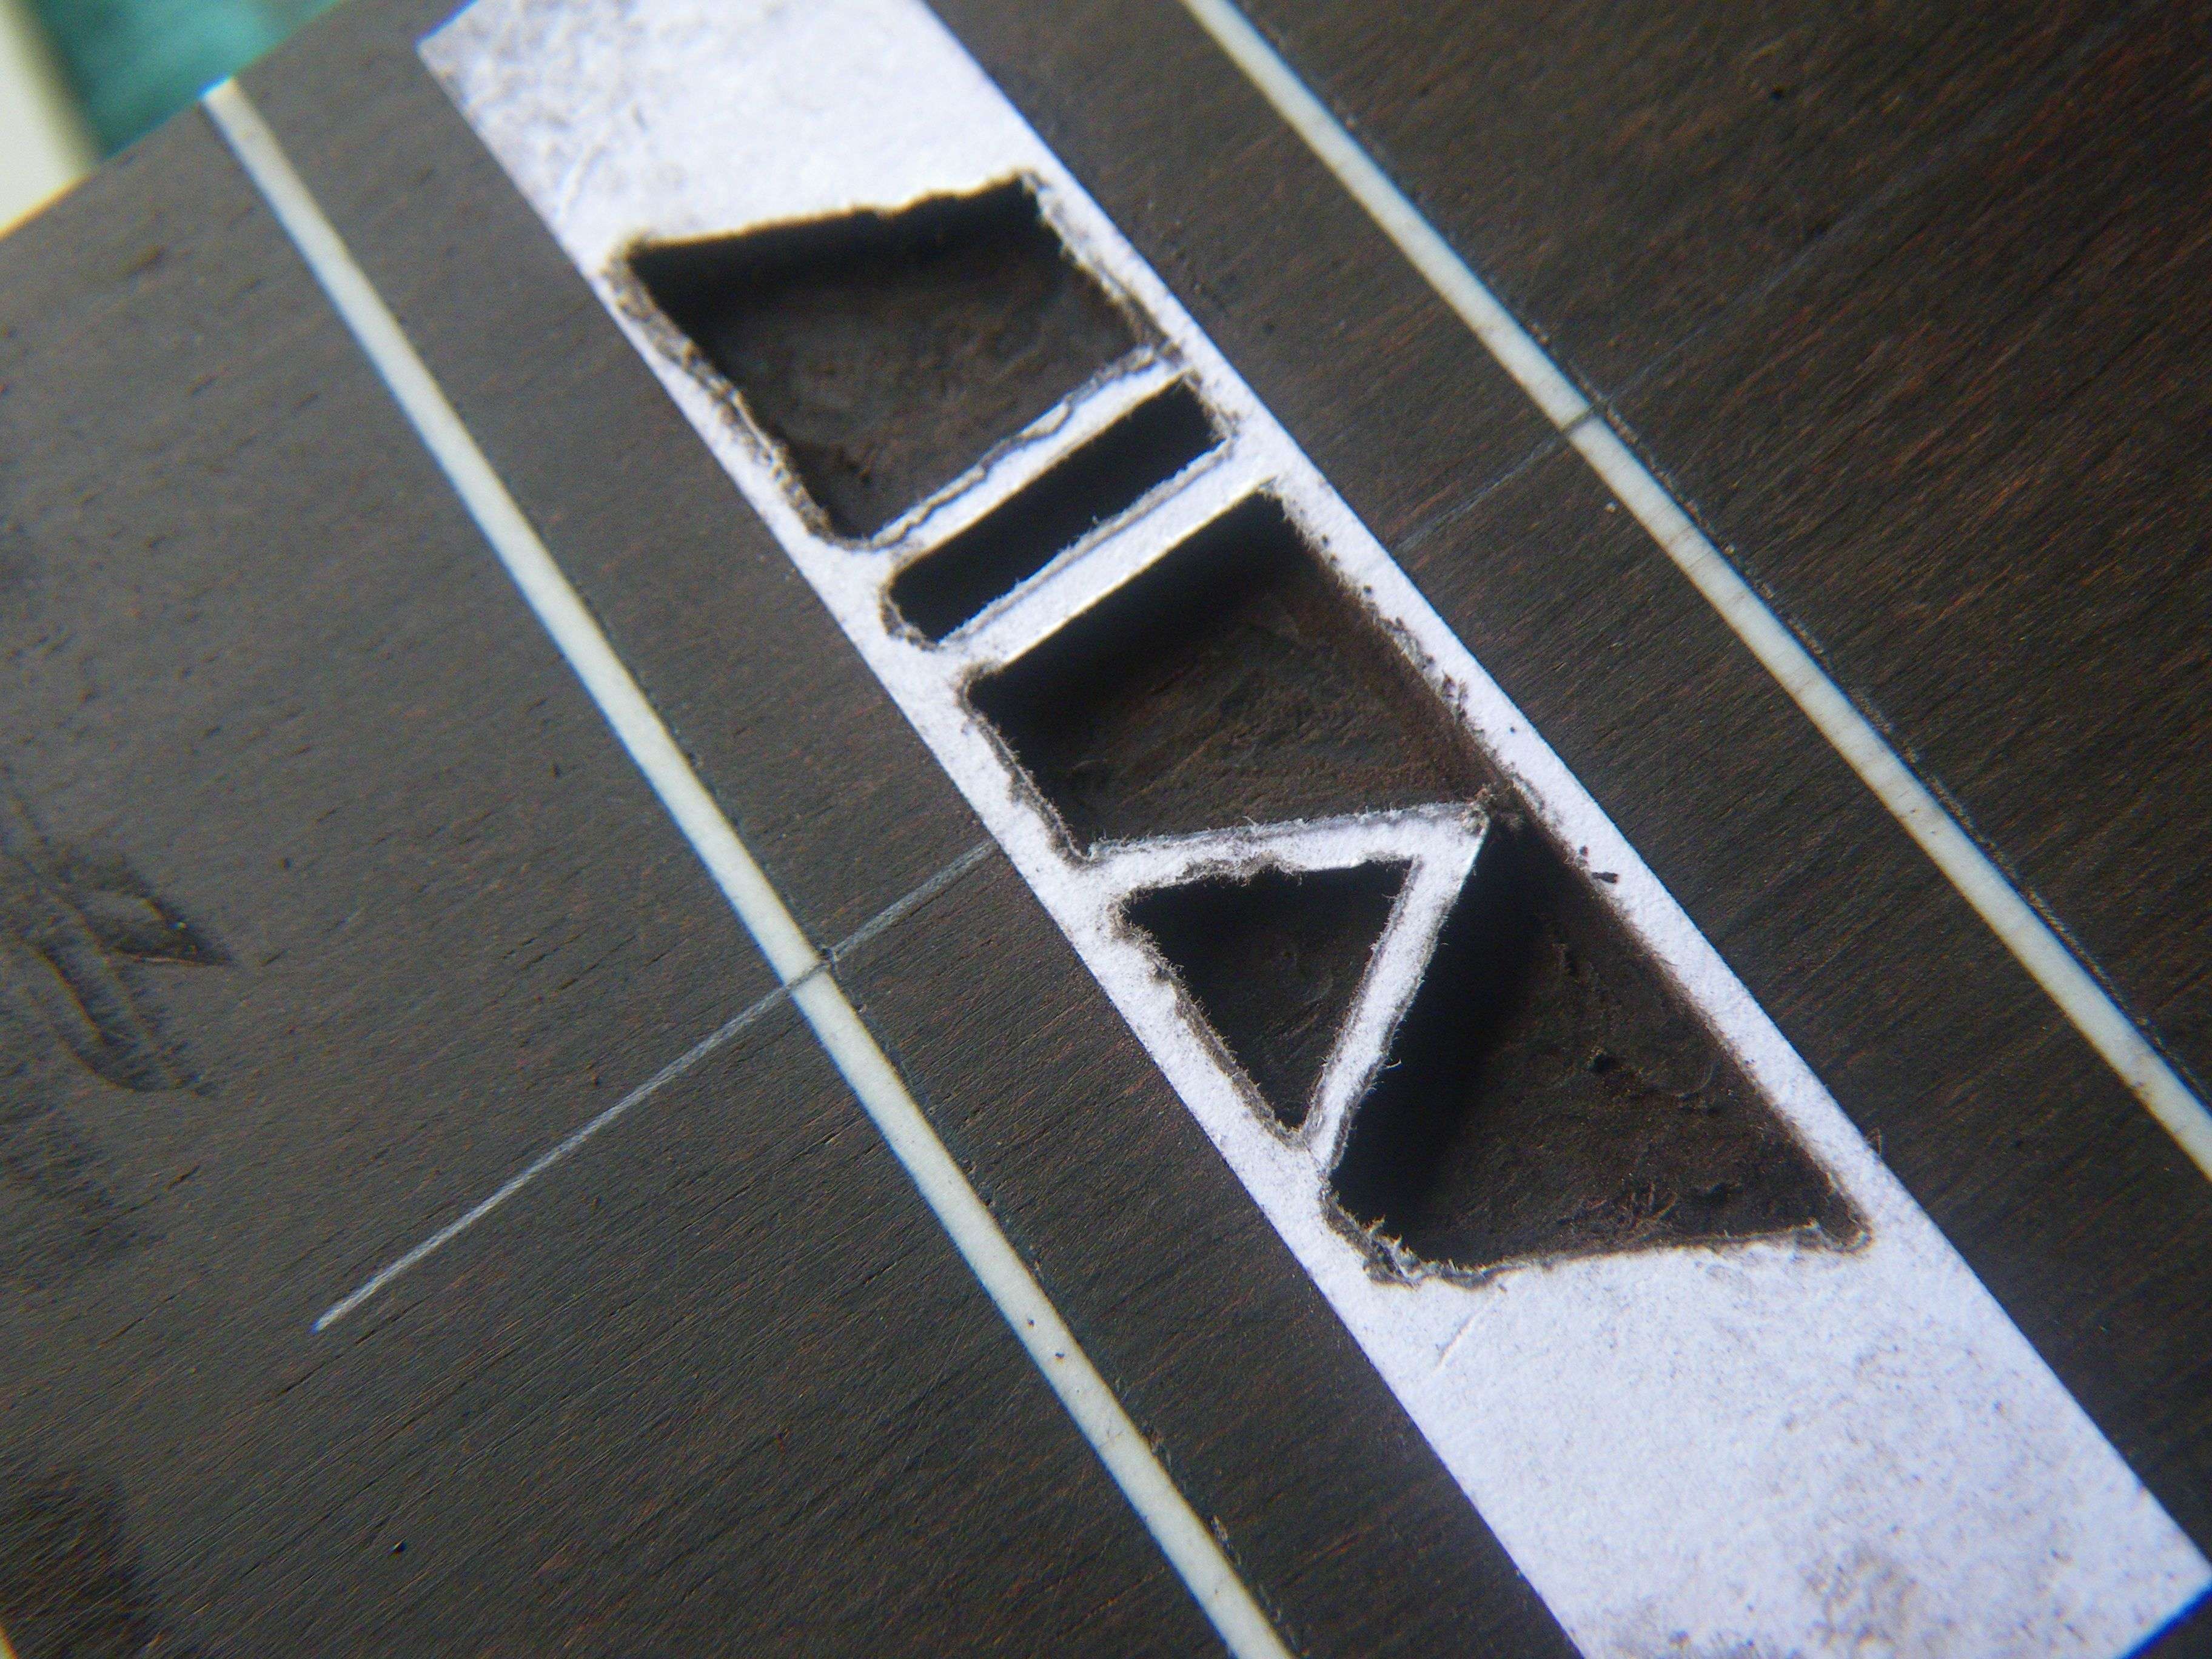
Remove the paper with light sanding
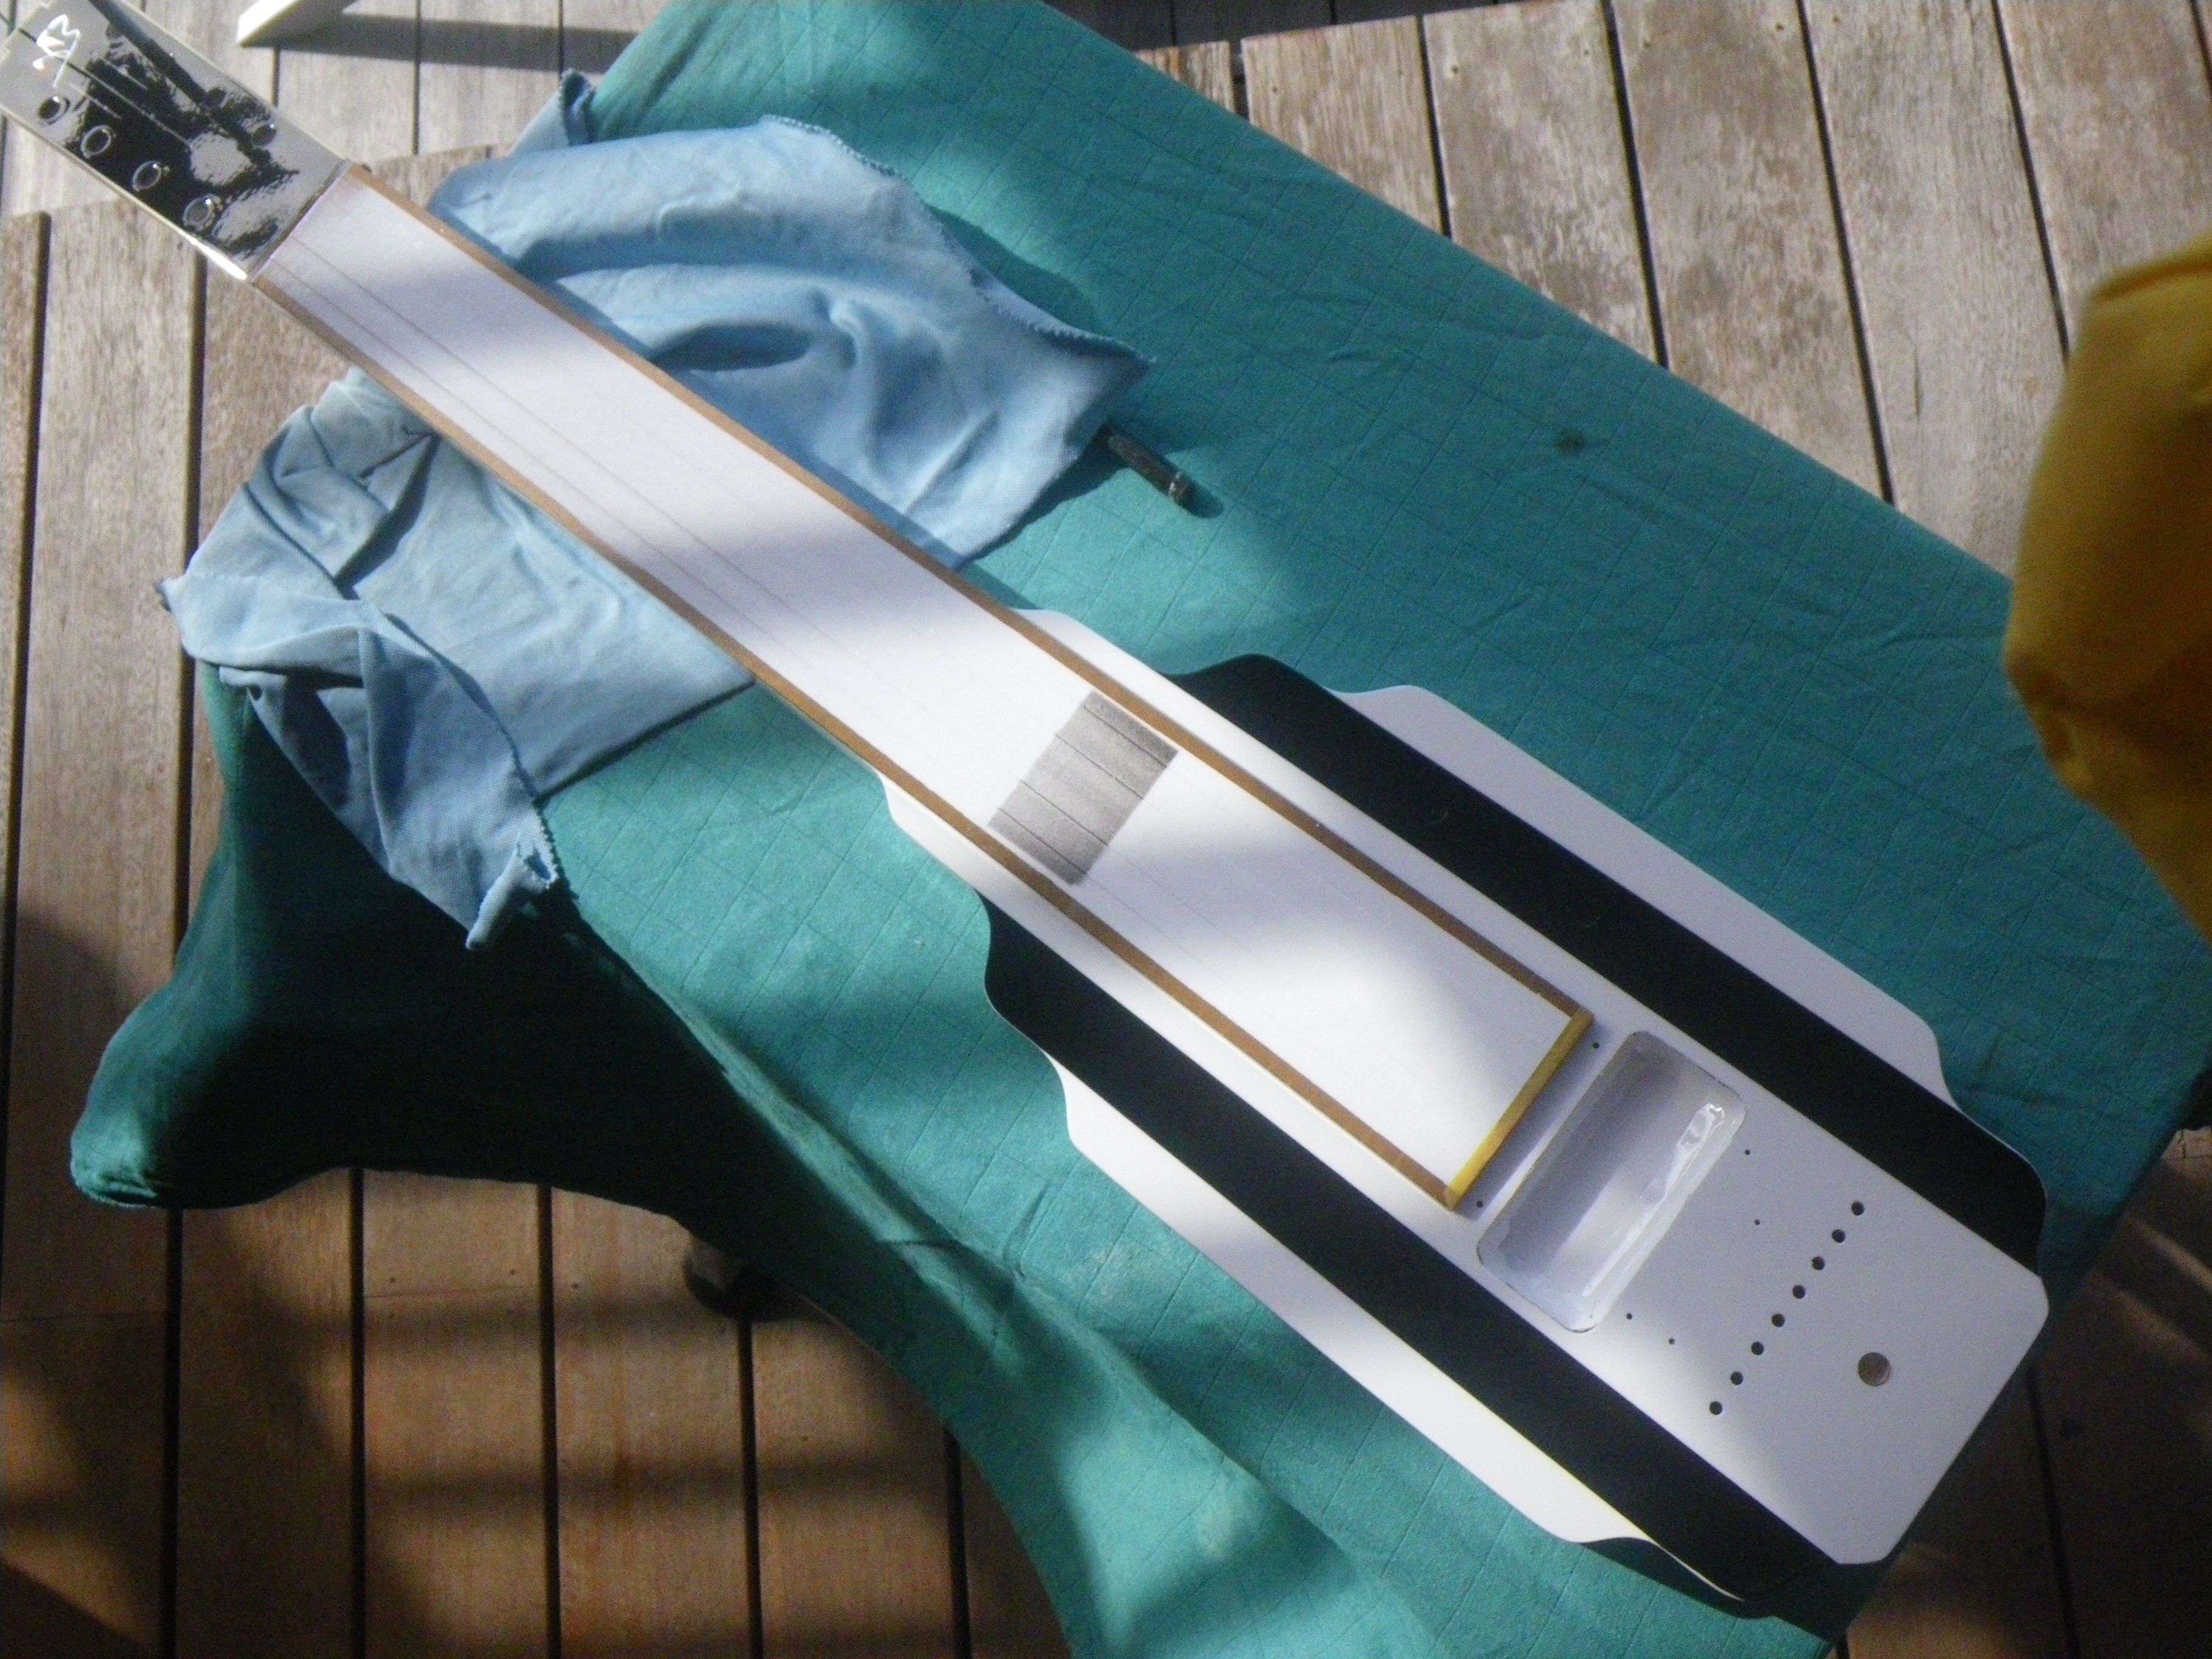
Then I hold in place the inlay with a pencil, and use a very small amount of clear CA to fix it in place
When it's set, I spread some black medium CA (tinted thin CA seems not to exist:-()
And sand flush:
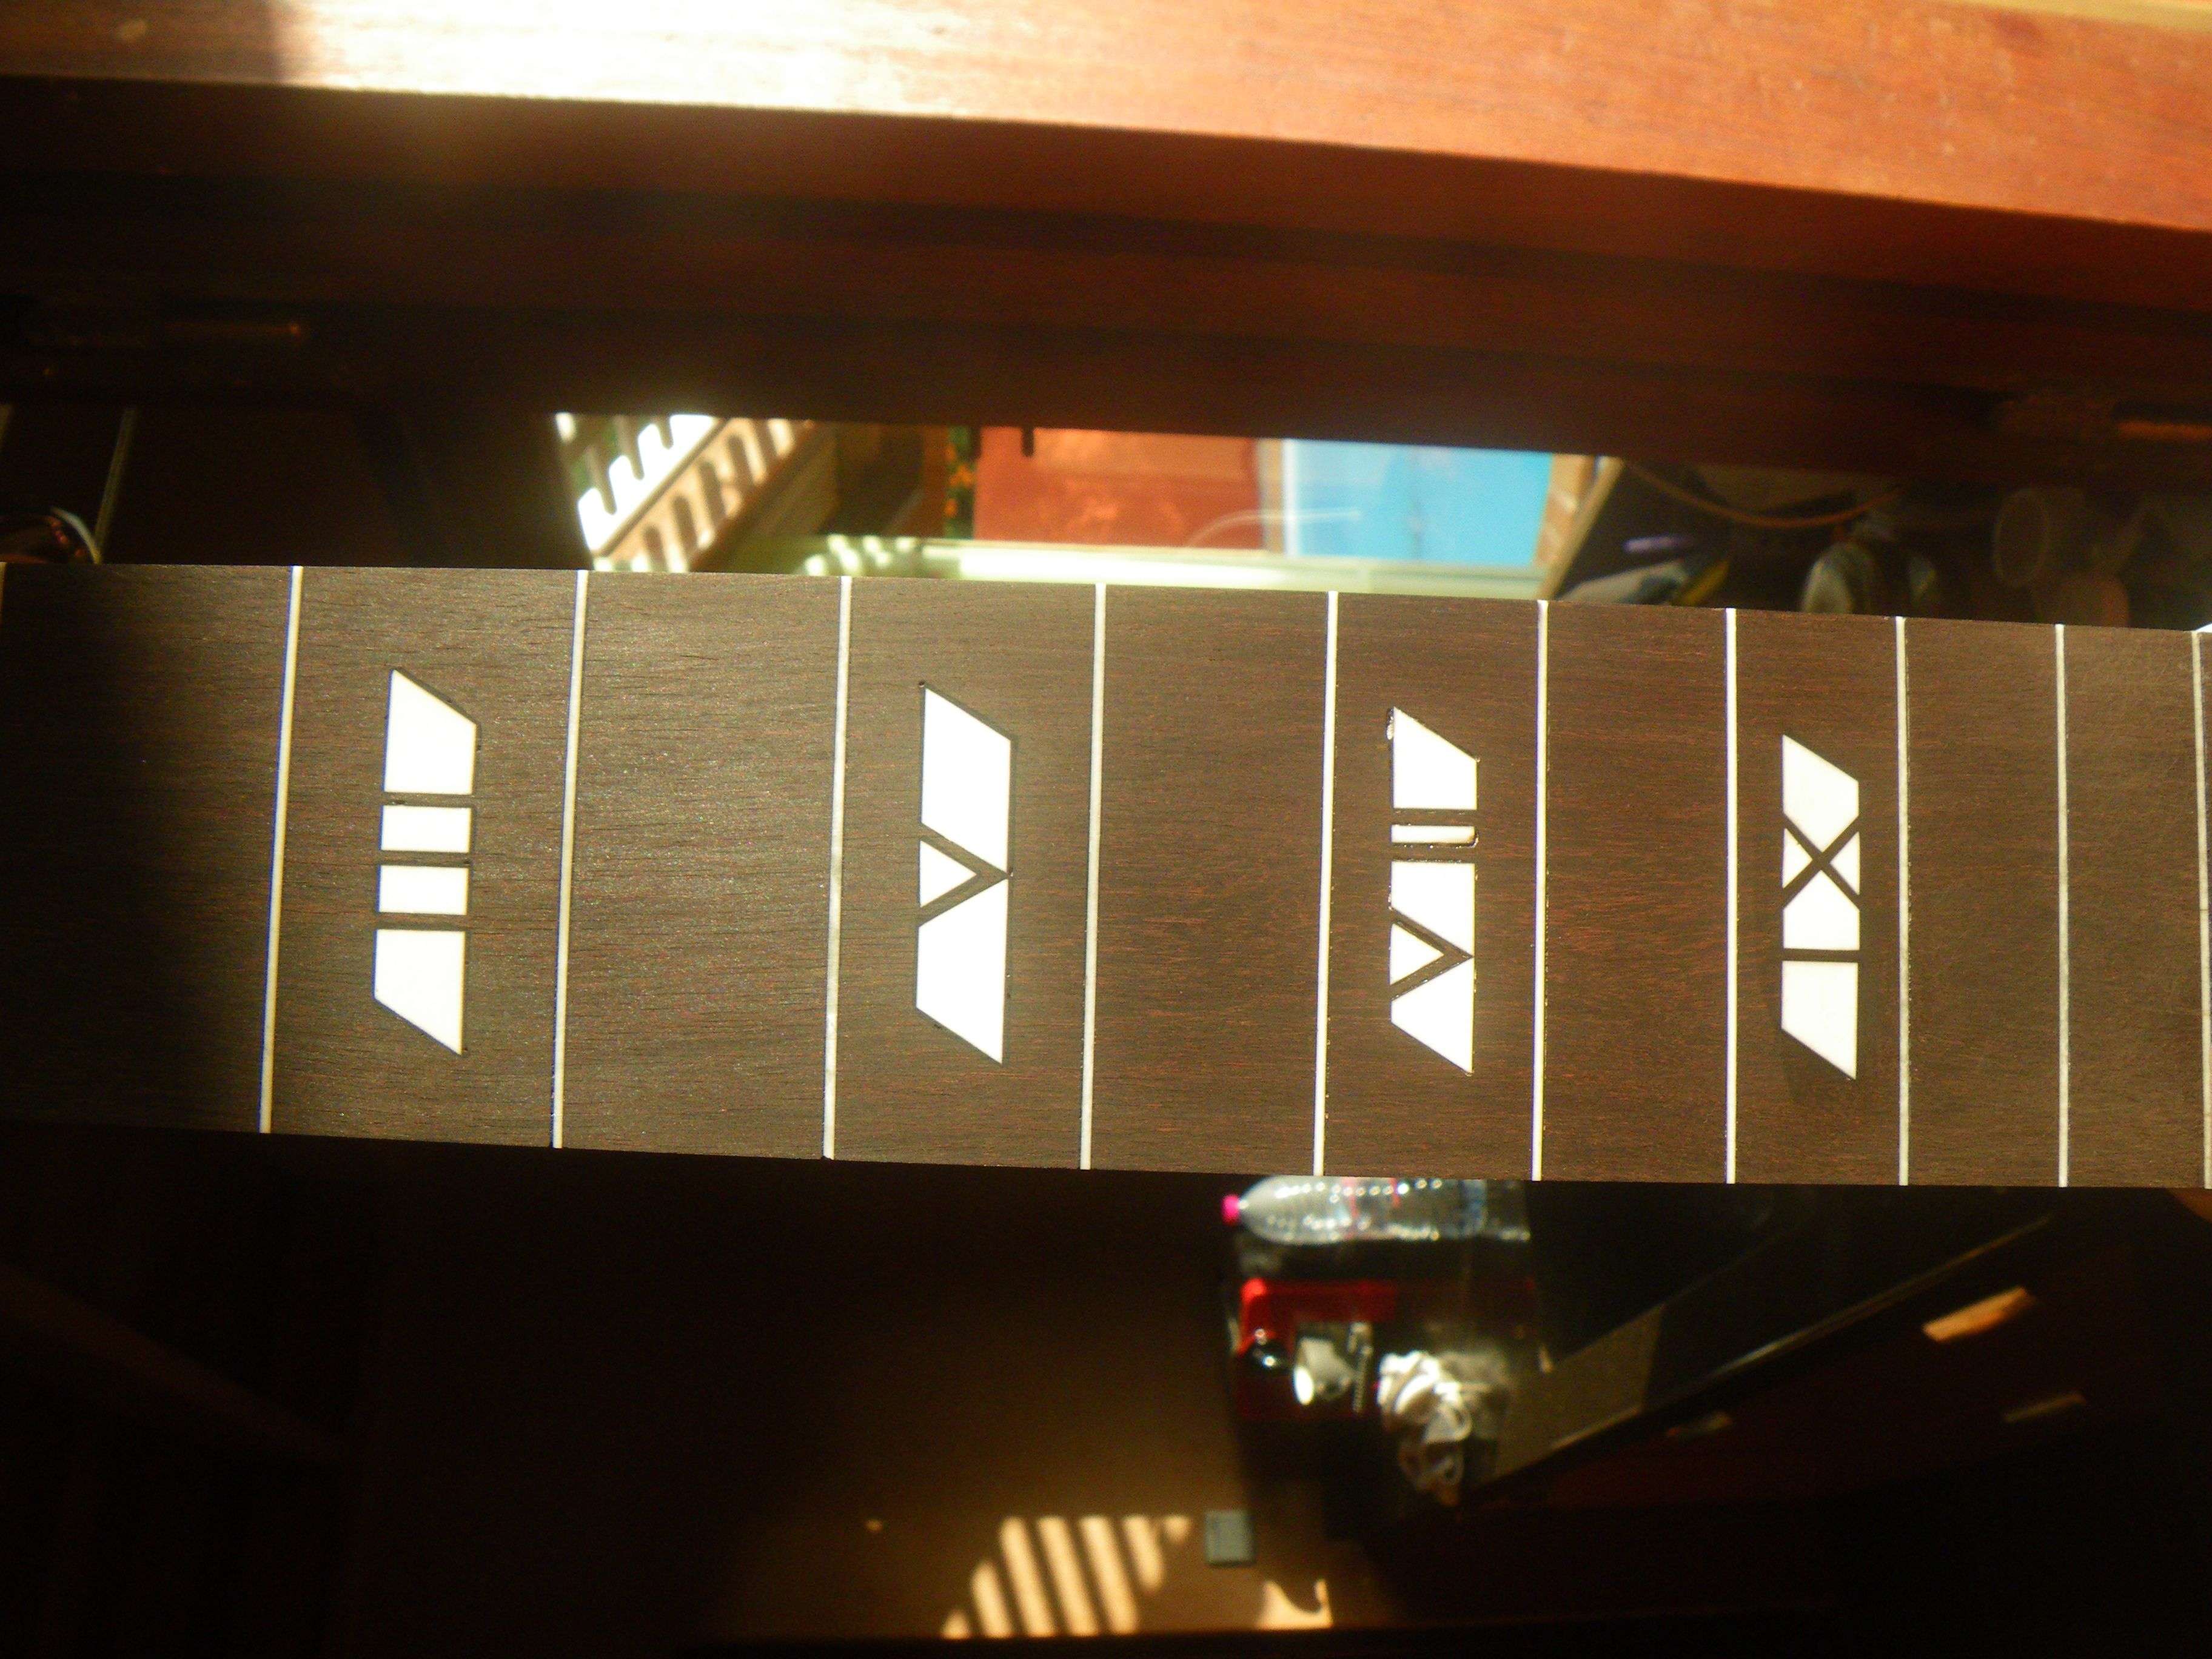
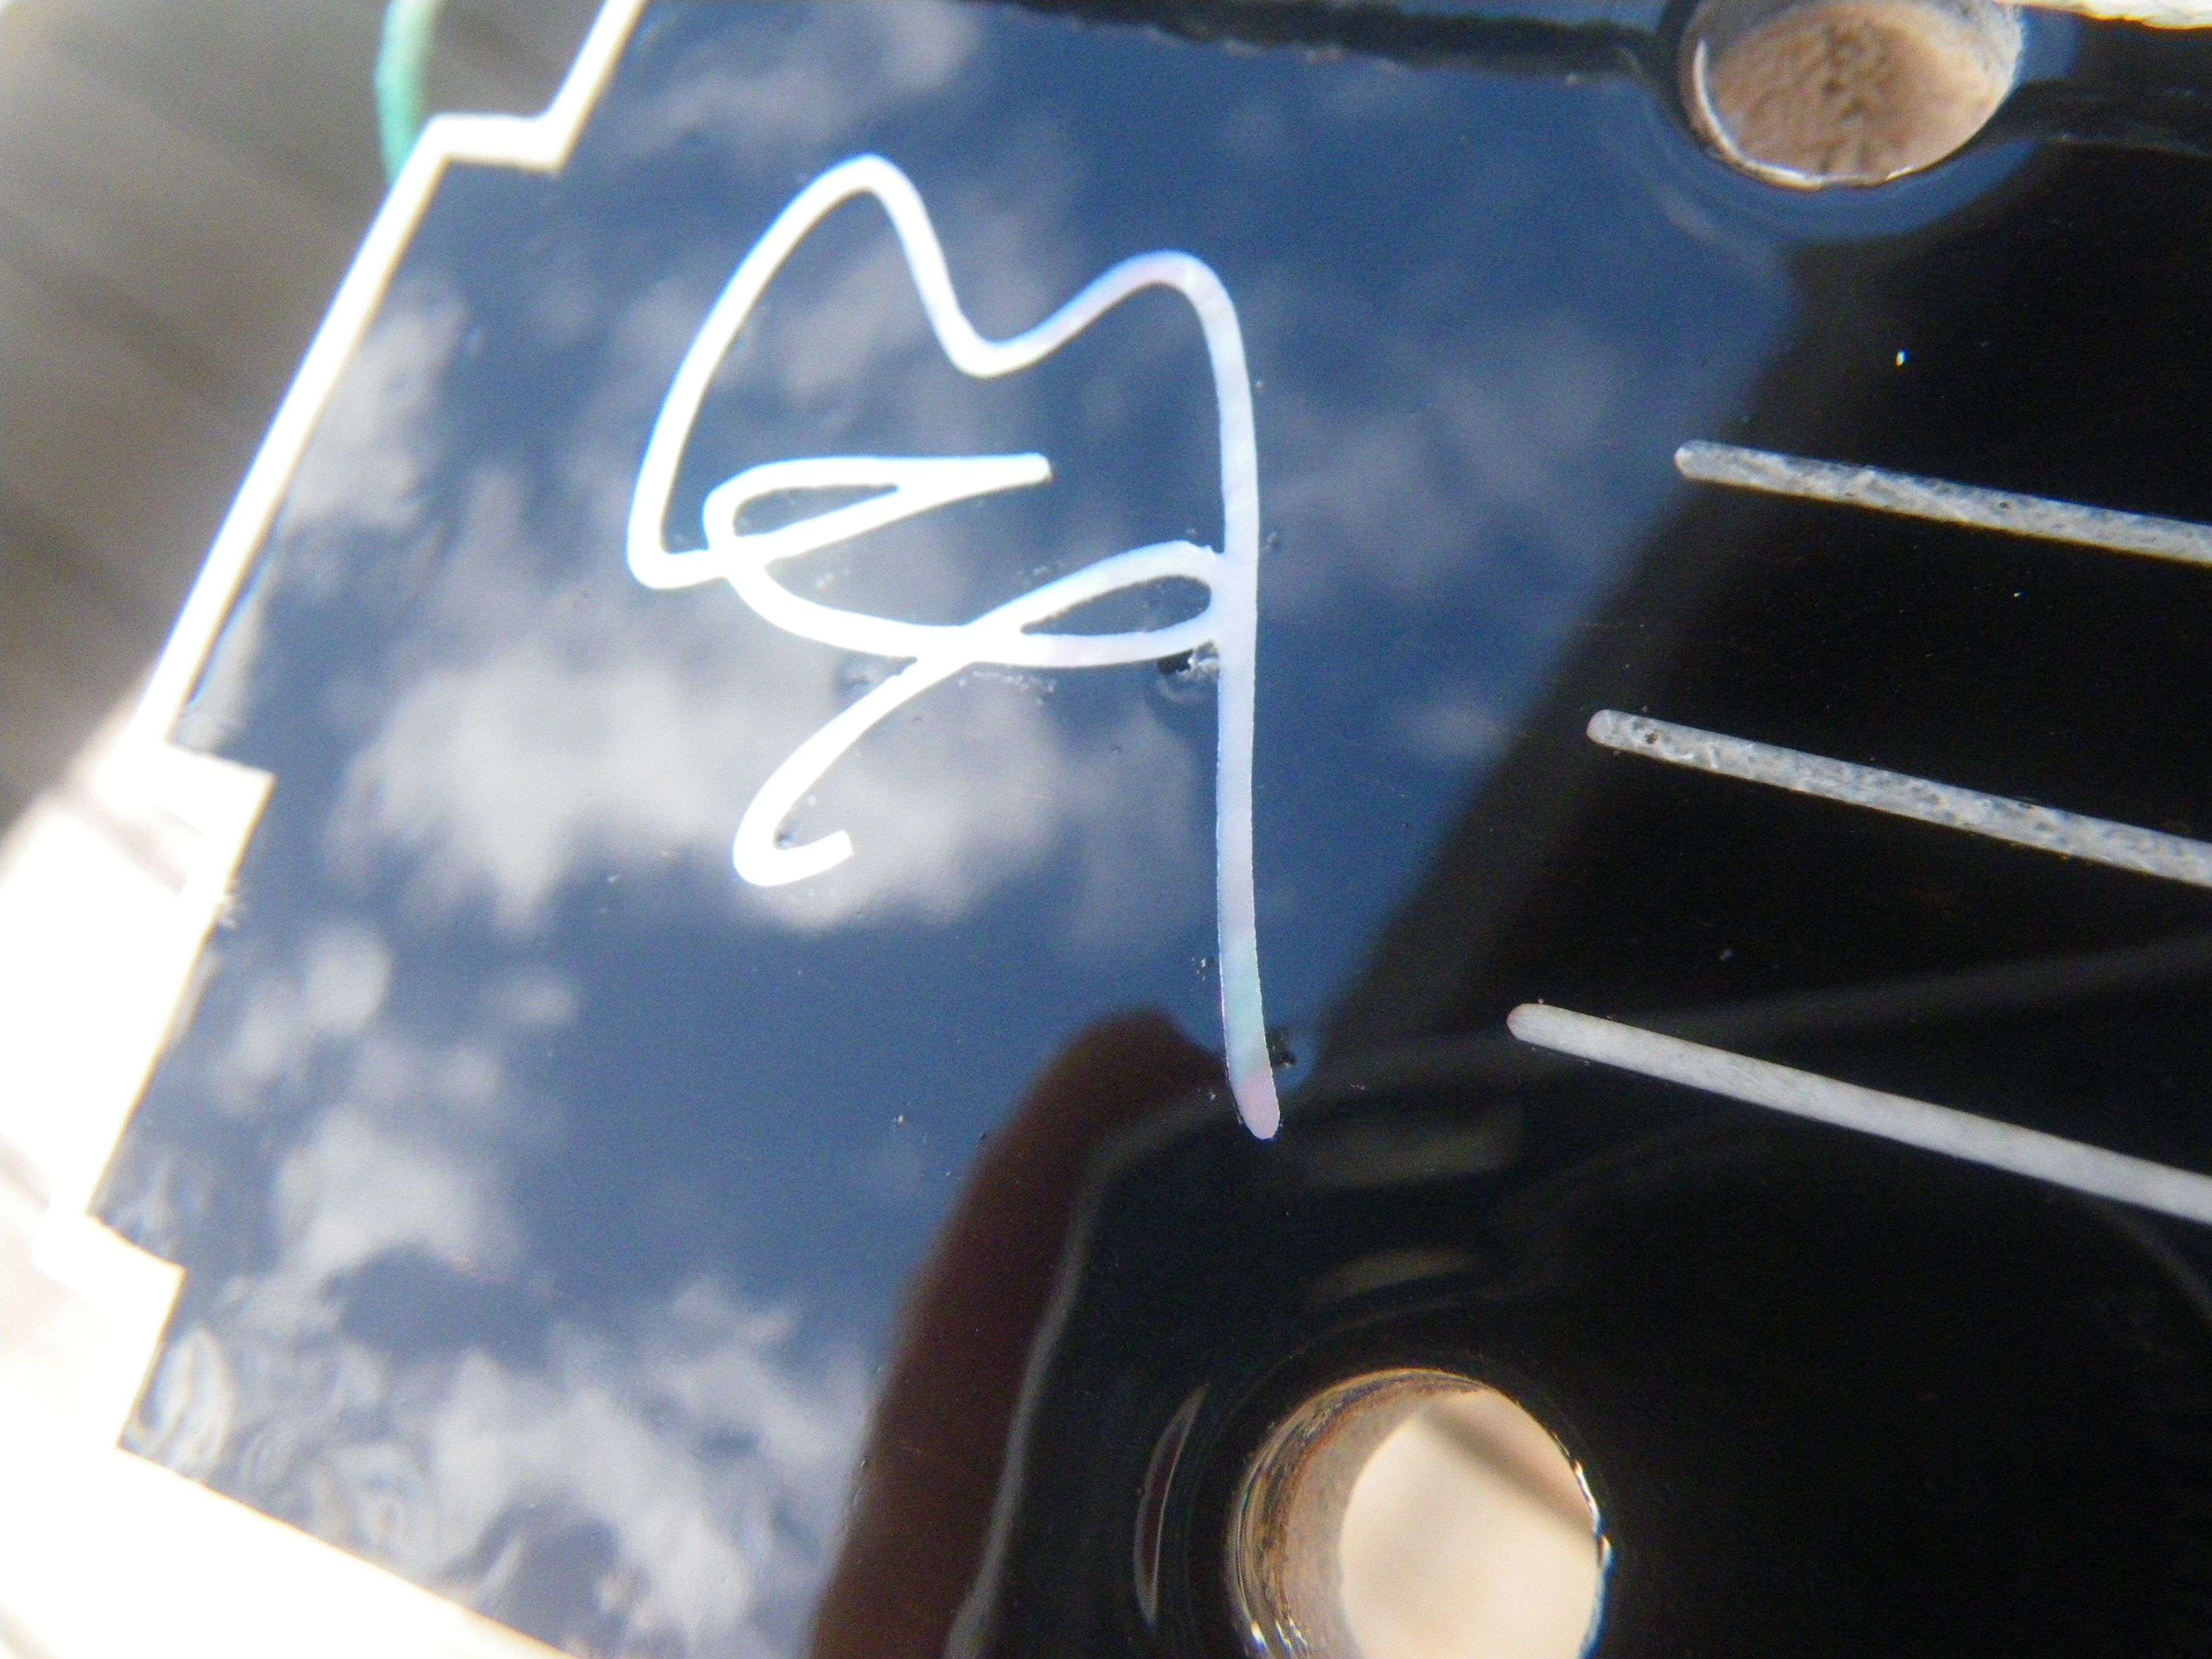
It's time sonsumming, but the result looks good (I love it)
Still some gaps to fill:-)
Xavier